by: Chris Guenther
Brace yourself for what will probably be a long blog post! DIY ceramic tiles from your own dirt!
When some think of ancient handmade tile, it might conjure up images of the floors of a Tudor cottage in the Cotswold’s, or the wall tile in Djoser’s final resting place in Saqqara. My personal tile journey actually started with a BBC documentary of experimental archaeology relating to the building of a castle in 13th century style. “Secrets of the Castle” contains an episode about tile making and it inspired me to consider my DIY options. “Hey! We could actually MAKE our own tiles for our future home”. They would be unique, rustic and, if the land provided enough clay, be made from the dirt in our backyard. I was excited… and so ignorant…
This journey turned out to be SO much more intensive and exhaustive than that simplistic dream that naive me had so many years ago. It wasn’t a matter of simply asking an ancient tile maker… they are hard to come by these days. Nor was it a matter for the ceramic artists, as they tend to focus more on the “art” rather than producing a functional simplistic floor covering en masse. And anyway, they typically aren’t going through, literally, tons of clay they are digging themselves. As one ceramic artist responded “that’s so Viking!”. The phrase I assume has to do with the pioneering seafaring adventures of medieval Norsemen, and not so much their bloodthirstiness. Anyway, ceramic artists were give me a lot of firing tips though and, when I got to that stage, their knowledge would be invaluable.
I had a starting point though. When the contractor who constructed our 400+ foot long driveway bulldozed it the first day, the clods of dirt appeared to clump like clay, so naturally I assumed I had a huge quantity of clay by weight in my soil. My wife, always patiently enduring my whole-hog-dive-right-in approach to new skills, found a video on YouTube of sorting clay from dirt using water and the differing settling rates of aggregate. After all was settled (figuratively and literally) our soil was maybe 35-40% clay by volume. I jumped right in building a mold and set to work making tiles.
It was SLOW! I couldn’t get the tiles to come out of the mold, I couldn’t get them to fill in the mold, they warped as they dried, and disappointment after disappointment led to frustration. How did ancient tile makers make so many uniform, beautiful tiles? Aliens… just kidding. There must be a way that works.
New Knowledge, That everyone used to know
More experimentation led to my rediscovery that a metal frame (mine was welded stainless steel but ancients would have made them from hardwood or cast them) aided by a tight fitting, tile sized pushing block made getting tiles out of the mold in one piece relatively simple. They were still warping though. I tried drying racks and flat racks and vertical and horizontal and every which way to get them to stop warping. And here, I would like to propose an intermission in the story to talk about the biggest factor I found in making clay tiles… the clay’s properties.
Clays found in art stores and catalogs are all well and good, and are all smooth and consistent and specifically tailored to the niches they fill. They come out of the very expensive vacuum pug mills. They are homogenized in ready for use, plastic, moldable and with a firing cone (more on that in a bit) printed on the box or easily available.
I had none of that. My clay came from the ground. The ground couldn’t tell me if it was plastic enough for what I wanted. It couldn’t tell me what temperature to fire it to for bisque (another new word for me). I learned a huge amount about ceramics and clay through this process that I hope I can pass along to my readers and anyone interested.
A Word on Clays
Now I could go into all the nitty gritty details that are involved with preparing and firing tiles. But I won’t. There are hundreds if not thousands of blogs, videos, memoirs, and stories about those. If anyone really want more, please feel free to email us. But here are the highlights of my adventure.
Clay, in general, has a lot of properties that can make it suitable for any number of ceramics projects. The ones I was most interested in at the time were its plasticity, its shrinkage and its firing temperature.
The plasticity was easy. When I bent a wad of rolled, wet clay around my finger, it cracked and broke. This indicated that it was not very plastic and fairly large particle sizes. Initially, that was worrisome because I was trying to extrude tiles with an extruder and it wasn’t working as they would crack and separate as they came out of the little hand press extruder. Ultimately, I went back to molding the tiles and plasticity didn’t play much into the equation. The dry tiles are a little dusty and more fragile than denser clay because of their particle size, but that was just a minor hindrance and not a deal breaker.

Kiln comes home.
I knew two things. One: I needed a kiln, and two: kiln’s aren’t cheap. I won’t even bore you with my sad attempt at making a wood fired one from a garbage cam. It’s embarrassing. Yes I am aware it has been done, but the process wouldn’t be repeatable until using large, wood-fired kilns (like the ancients used). I didn’t have thousands and thousands of dollars to spend. This is where Facebook Marketplace came in. I spent several weeks searching for used kilns. Some were usable, but still very expensive, some were absolute wrecks. I finally found a small 120v version that I took a lonely 2 hour drive to go pick up one Saturday afternoon. It worked well, but was too small. It would melt the tiles near the edge at the temperatures it was firing the middle tiles. Plus it only held about 7 tiles at a time which would mean something like 150 firings. I doubted the elements would last half that long. It did give me a ballpark firing temp though. 1,775°F. So I sold that one and moved on to find a better alternative. Eventually, I found what I thought was a mid-sized electric kiln. “Perfect!” I thought. I drove the 3 hours out to get it and lo and behold… It was MASSIVE! Big enough to fire 72 tiles at a time and have room to spare. I paid the very nice man for it, who helped me load it onto my borrowed trailer and off I went to make some tiles.
Just Warming up
Once I got the kiln home and wired, I needed a test batch. I put 10 green tiles in the kiln, set the controller for 1,775°F and Voila! 10 hours later…. I had very. Underfired. Tiles. I bumped it up to 1,825°F, then 1900°F, then 1925°F, then finally at 1,950°F I got very close. Those tiles had been fired several times at that point and, for fear of them becoming brittle, I left off firing them and decided to wait until I had a whole batch and then it would be go-time! Those tiles were almost the right color, sound, and water absorbency and I figured another 15°F would probably do it.
It took several more weeks to get enough tiles together and dry to fill up the kiln, but finally I had 70 dry tiles. I set the controller for 1,965°F and waited. And waited. And waited. At 2am, I set an alarm and woke up to go babysit the last few minutes of firing. I sat on a bucket in my workshop and waited as it slowly rose. 1958, 1959, 1960…. When it hit 1965, there was a very relieving *click* from the kiln’s controller, and the temperature slowly began to fall. I went to bed anxious to see what those long hours had produced.
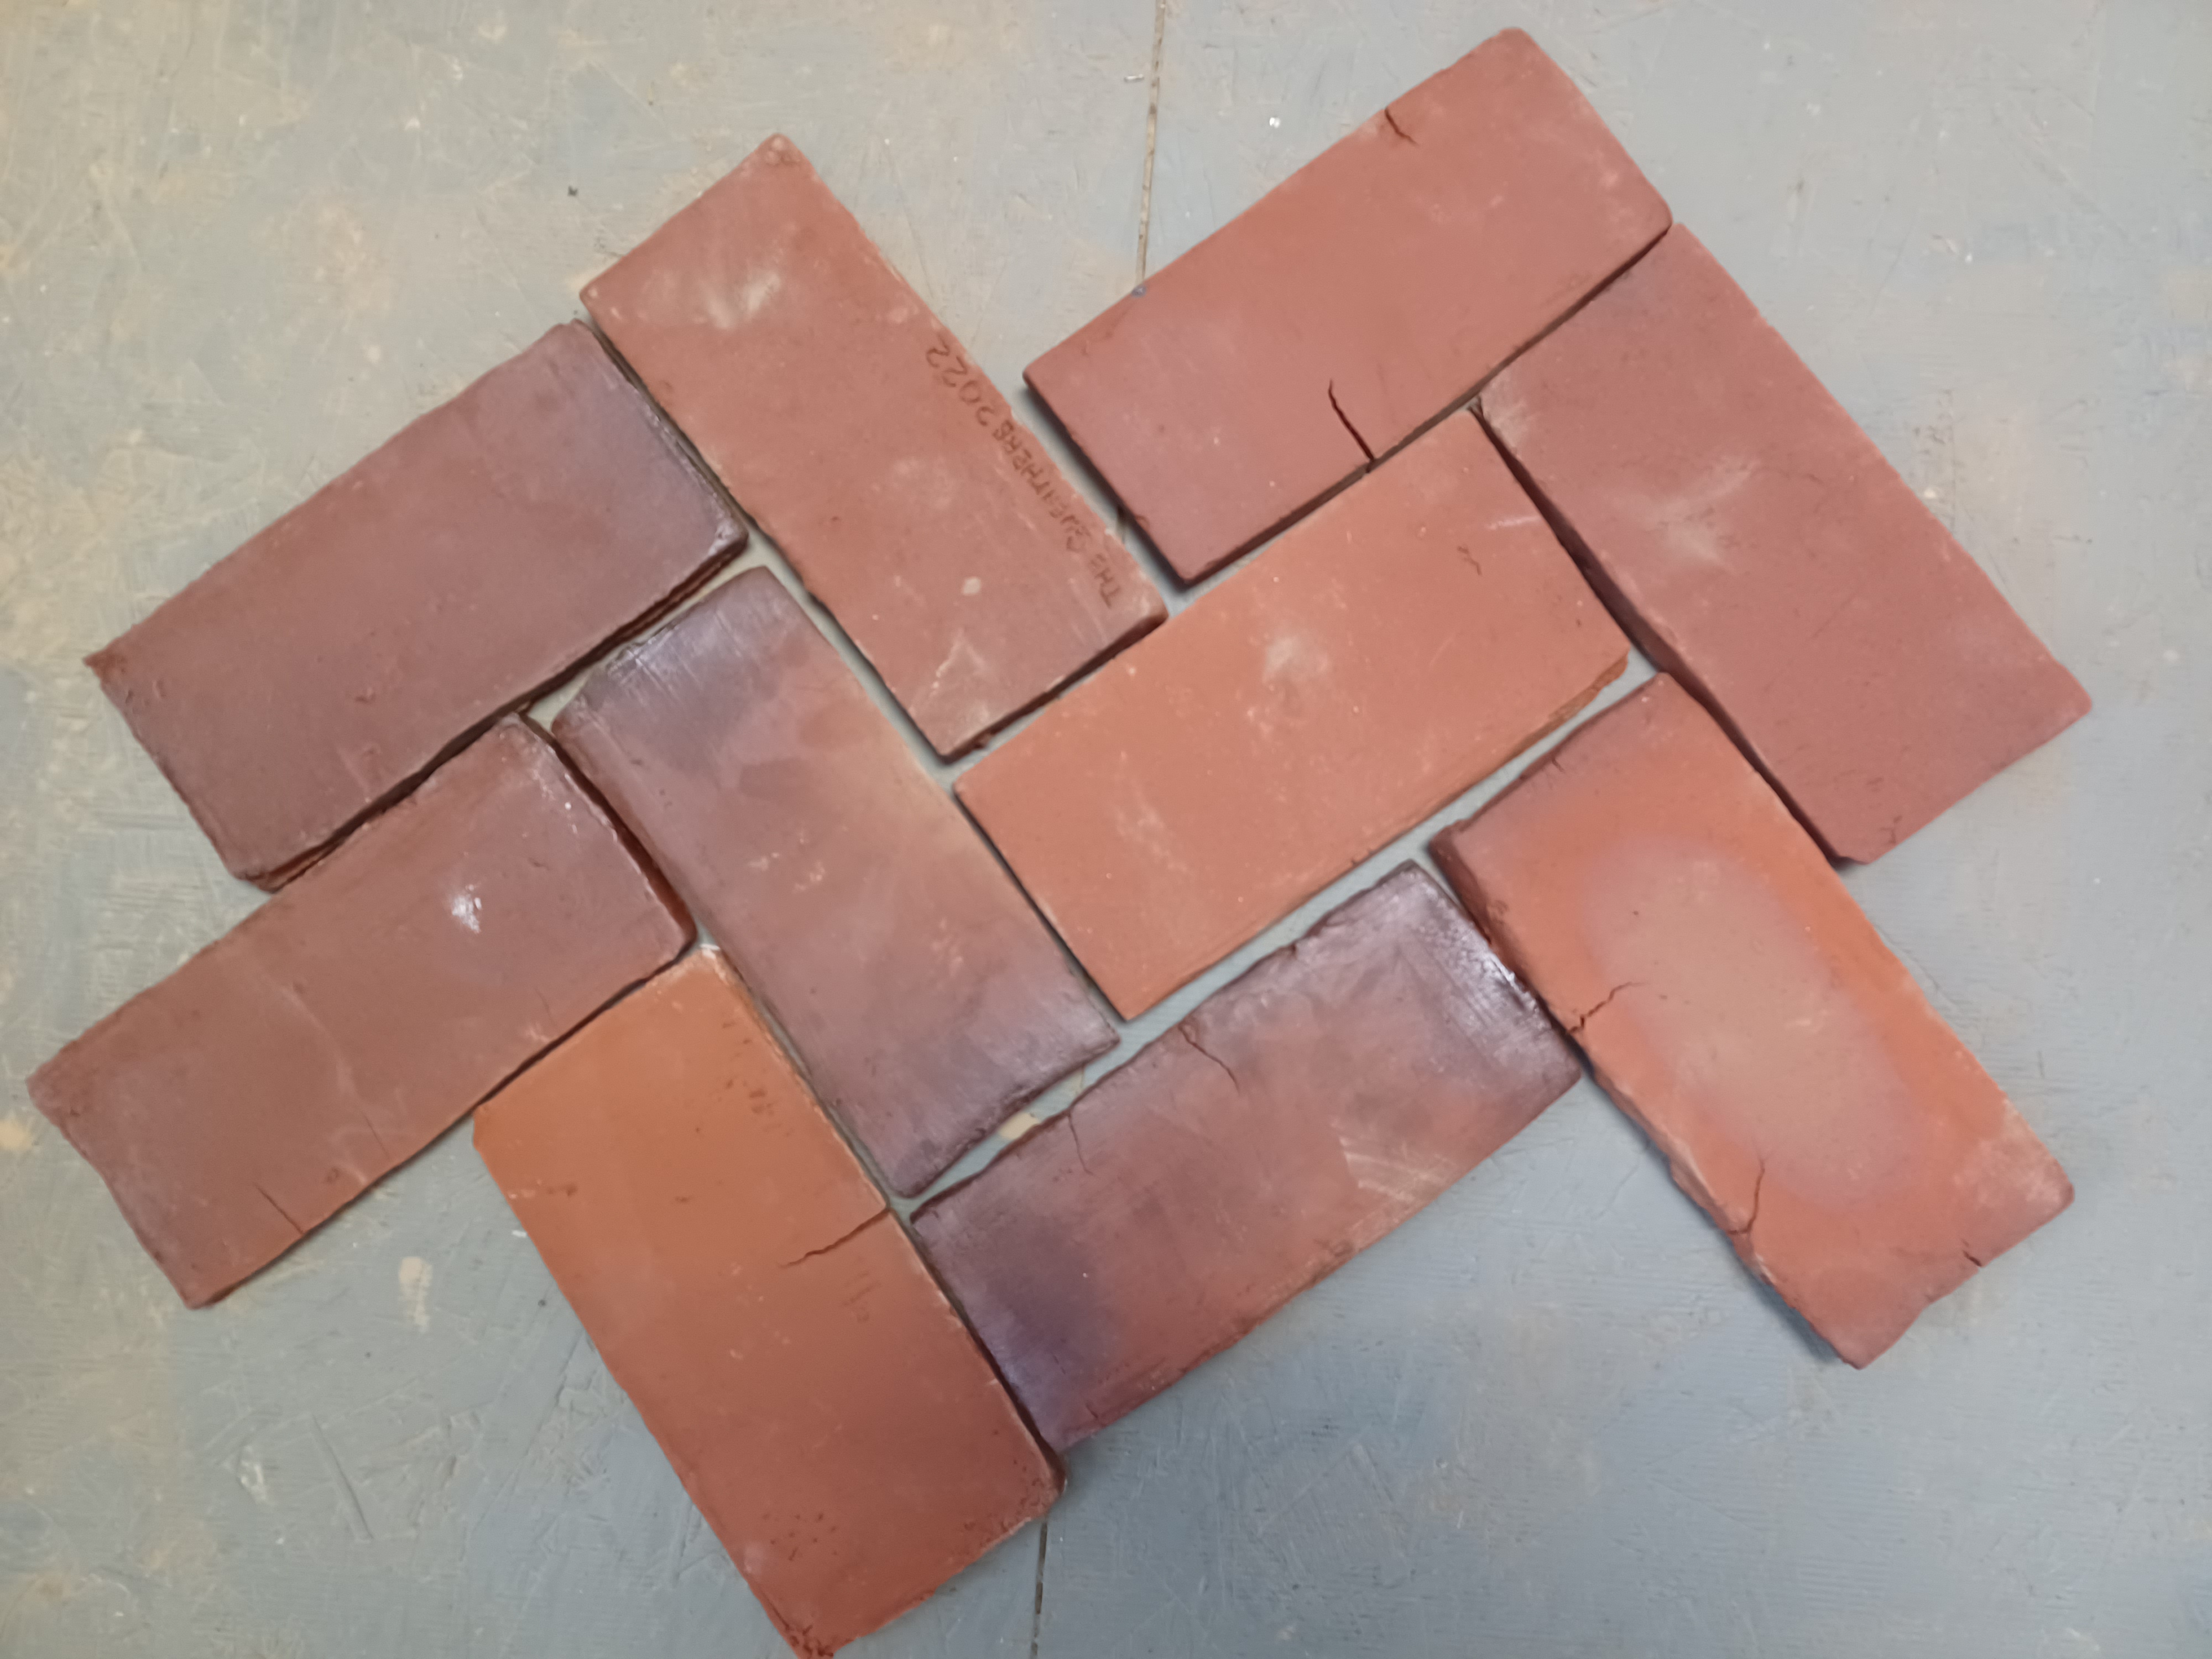
12 hours later, the kiln had finally fallen to around 350°F and, though they (you know them!) tell you to wait until the temperature has fallen to below 250°F to open the top, I couldn’t wait anymore. I cracked the top to behold a wonderful sight. There, on the top shelf, sweltering in the heatwaves, were a beautiful row of brick red tiles. They were flat, rectangular and, more importantly, all in one piece. When they cooled I had 70 something gorgeous, red, handmade tiles that were ready to be installed.
Process
So you want to make tiles from dirt?! There are an infinite array of shapes and sizes, but too large and they will be difficult to dry evenly and even more difficult to keep flat when firing. But here is the basic process. Dirt to tiles the ancient way!
Step 1
A mold is required in the basic shape of the tile. This is my mold. There are many like it but this one is mine
Picture
It can be made from wood (I would pick a durable wood and oil and wax it), or it can be made from metal or rigid plastic. It needs to be something that will hold up well under the strand of making many tiles.
Step 2
Get you some clay! Almost all dirt (short of beach sand) has some level of clay in it. If there isn’t clay soil right in the yard, it is usually found on the outside bend of rivers or creeks. I ended up having a friend who had what amounted to a huge clay pit with very little aggregate in it. But natural clay is never far from where most people live.
Step 3
Now, clay that comes from the ground instead of from a store is going to have all kinds of junk in it. Roots, stones, leaves, sand, worms…. All of these are detrimental to making good tiles. Clay has a secret though, and it is the secret that helps to separate it from all the other junk. Clay suspends in water for a LONG time. Every other impurity in the clay settles out fairly quickly. The bones of this process have been used for thousands of years to make uniform clays for ceramic. This is my process:
Get two buckets. I use 5 gallon, but any size bucket will do.
Dig the clay and fill one of the buckets about ¾ full.
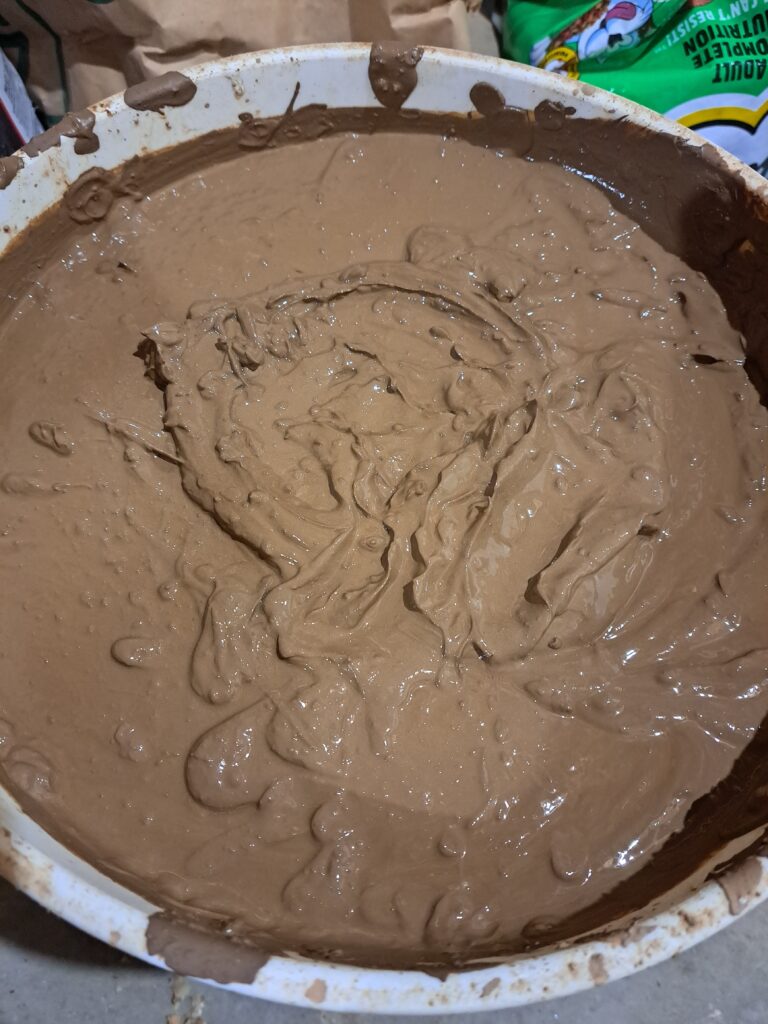
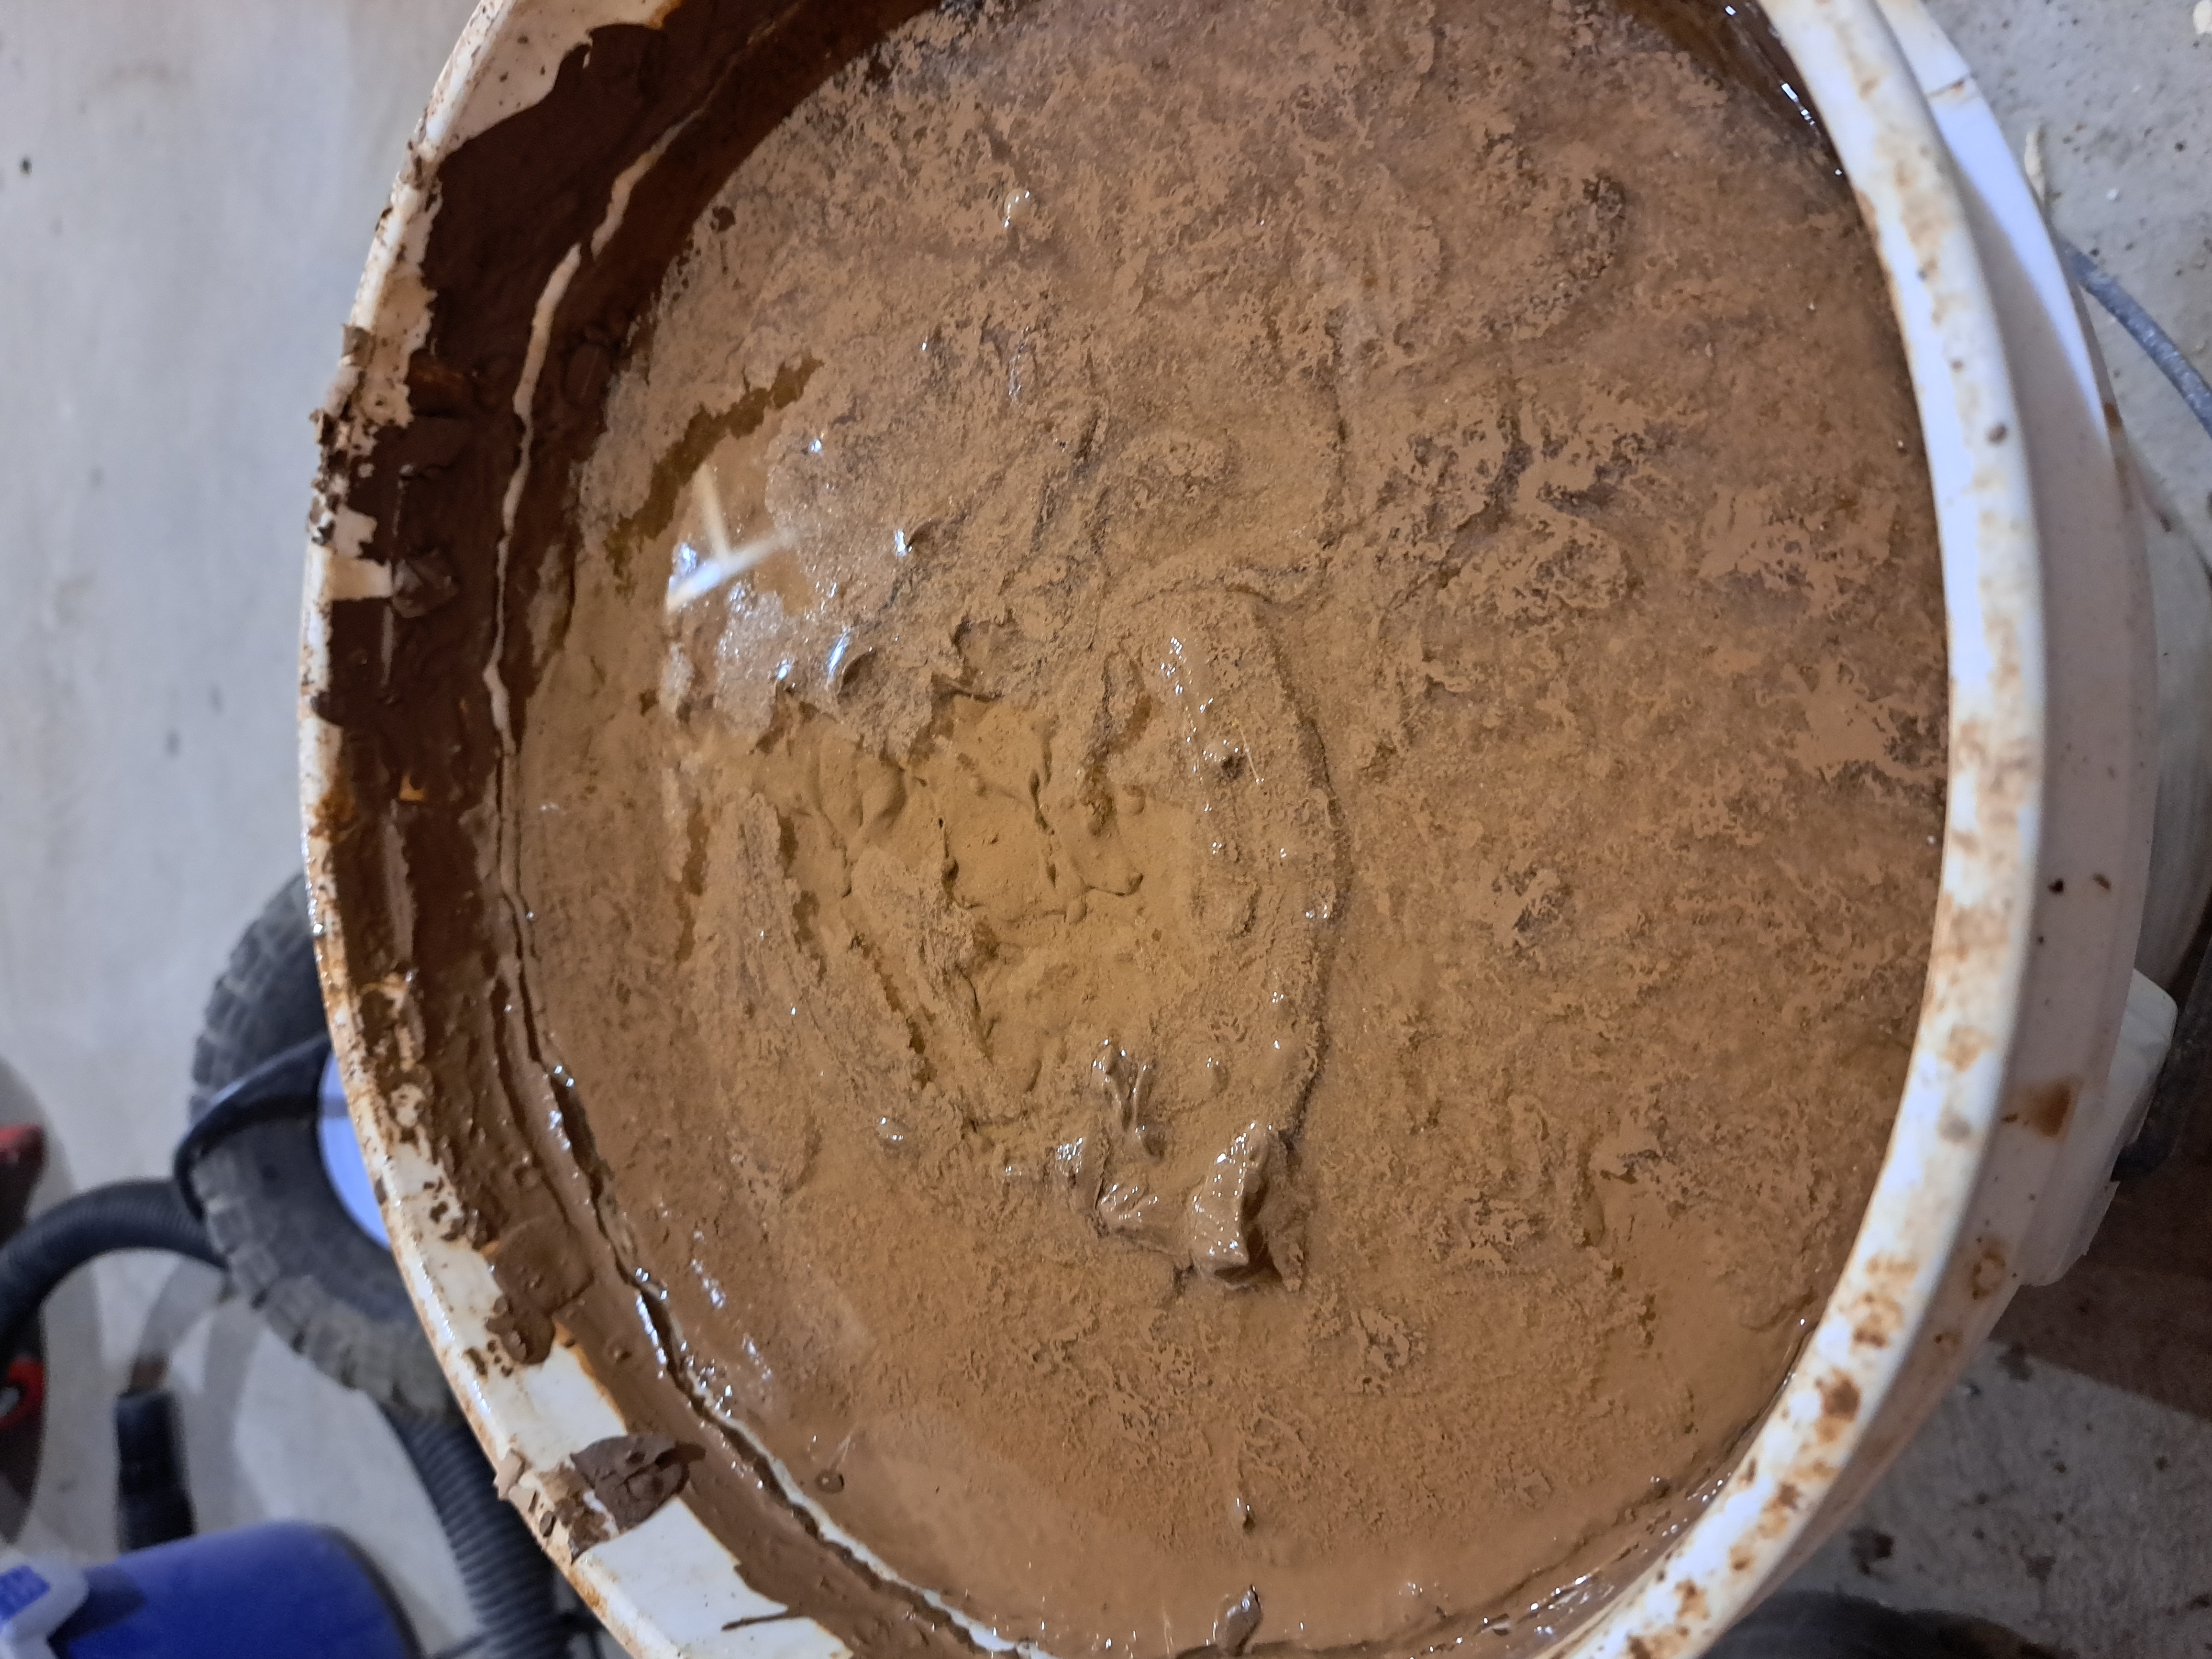
Add enough water that the clay can be whipped into a thin slurry with a spackle mixer (affiliate link) and a drill (This drill one is a great option and is relatively cheap. It is the one I use)
Once the clay is stirred into a fairly consistent slurry, let it settle for a minute, then pour off the liquid on top into another bucket. Discard all the stones and heavy sand at the bottom of the first bucket and rinse it out.
Let the bucket with the clay water settle for 10 minutes. At that point, most of the fine sand and silt will have settled out. You can keep doing this settle-drain cycle as long as you want but it may not be tremendously advantageous after 2 cycles.
Let the bucket settle overnight. By that time the clay should have settled to the bottom and there should be clear water on top.
Dump as much of the clear water as you can without dumping the clay.
Drain and scoop the clay into a pillowcase and then tie up and hang (A ladder works well for this, or a railing). I forgot to mention, this is likely a summertime activity.
Let the clay hang in the pillow case until it is the soft, workable consistency you are looking for. This may take a few days depending on the weather.
Pull the formed clay out of the pillowcase and knead it (ceramicists call this “pugging”) until it is consistent and homogenous for your uses. This usually takes about 10-15 minutes.
Now you have clay for the next step!
Step 4
Before we make tiles, you will need a few tools. Here’s a great kit off amazon that has everything you are going to need to make this work.
This step already assumes you have a mold ready to go, which brings me to a quick aside about tile thickness. Tiles that are too thin are more likely to warp, either in drying or in the kiln. I have made mine about ½” (12mm) thick and they seem to hold up pretty well.
The mold should be made of hardwood at a bare minimum, but metal is better. If it is made of wood, it should be soaked in boiled linseed oil or another oil finish to preserve the wood, as it will be getting wet when in use and will warp or come apart.
So now, once you have your mold, you will need a tight fitting prush block to press the tiles out when you are done. Mine was made with a piece of polyurethane sheet that I cut with a box cutter and a straight edge. You will need a scraper and a clay cutting string or cable. Now we can start making tile!
Tools you will need:
- Mold
- Mold push block
- Clay cutter
- Flat scraper
- Optional: Wood mallet
- Pieces of ½”-⅝” Sheetrock cut slightly larger than your tiles
- Something about a ½ – 1lb (0.25-0.5kg) in weight
Instructions to make the tiles
- Cut off a slab of clay that is about the right amount to overfill your mold by enough to make sure that it will fill out completely
- Press this into the mold to fill it out (corners are the parts that need the most pressing). I do this with the side of a wooden mallet, but you can use your hands as well.
- Once the mold is completely filled, use the cable cutter from your clay arts kit, or just a piece of stout string (fishing line works well), and pull it tight over the top of the mold and cut off all the excess.
- Scrape the top smooth. (I initially level it with the mold push block, though you can do it with the clay scraper).
- Press the finished tile out with the mold push block, place on one of the sheetrock pieces
- Place another sheetrock piece on top of the tile and place something that weighs a few ounces on top of it. This will keep the tiles flat as they dry.
Once they are dry, you can fire them. As this post is already quite long, I will put that in another post. Keep an eye out for that in the future!
