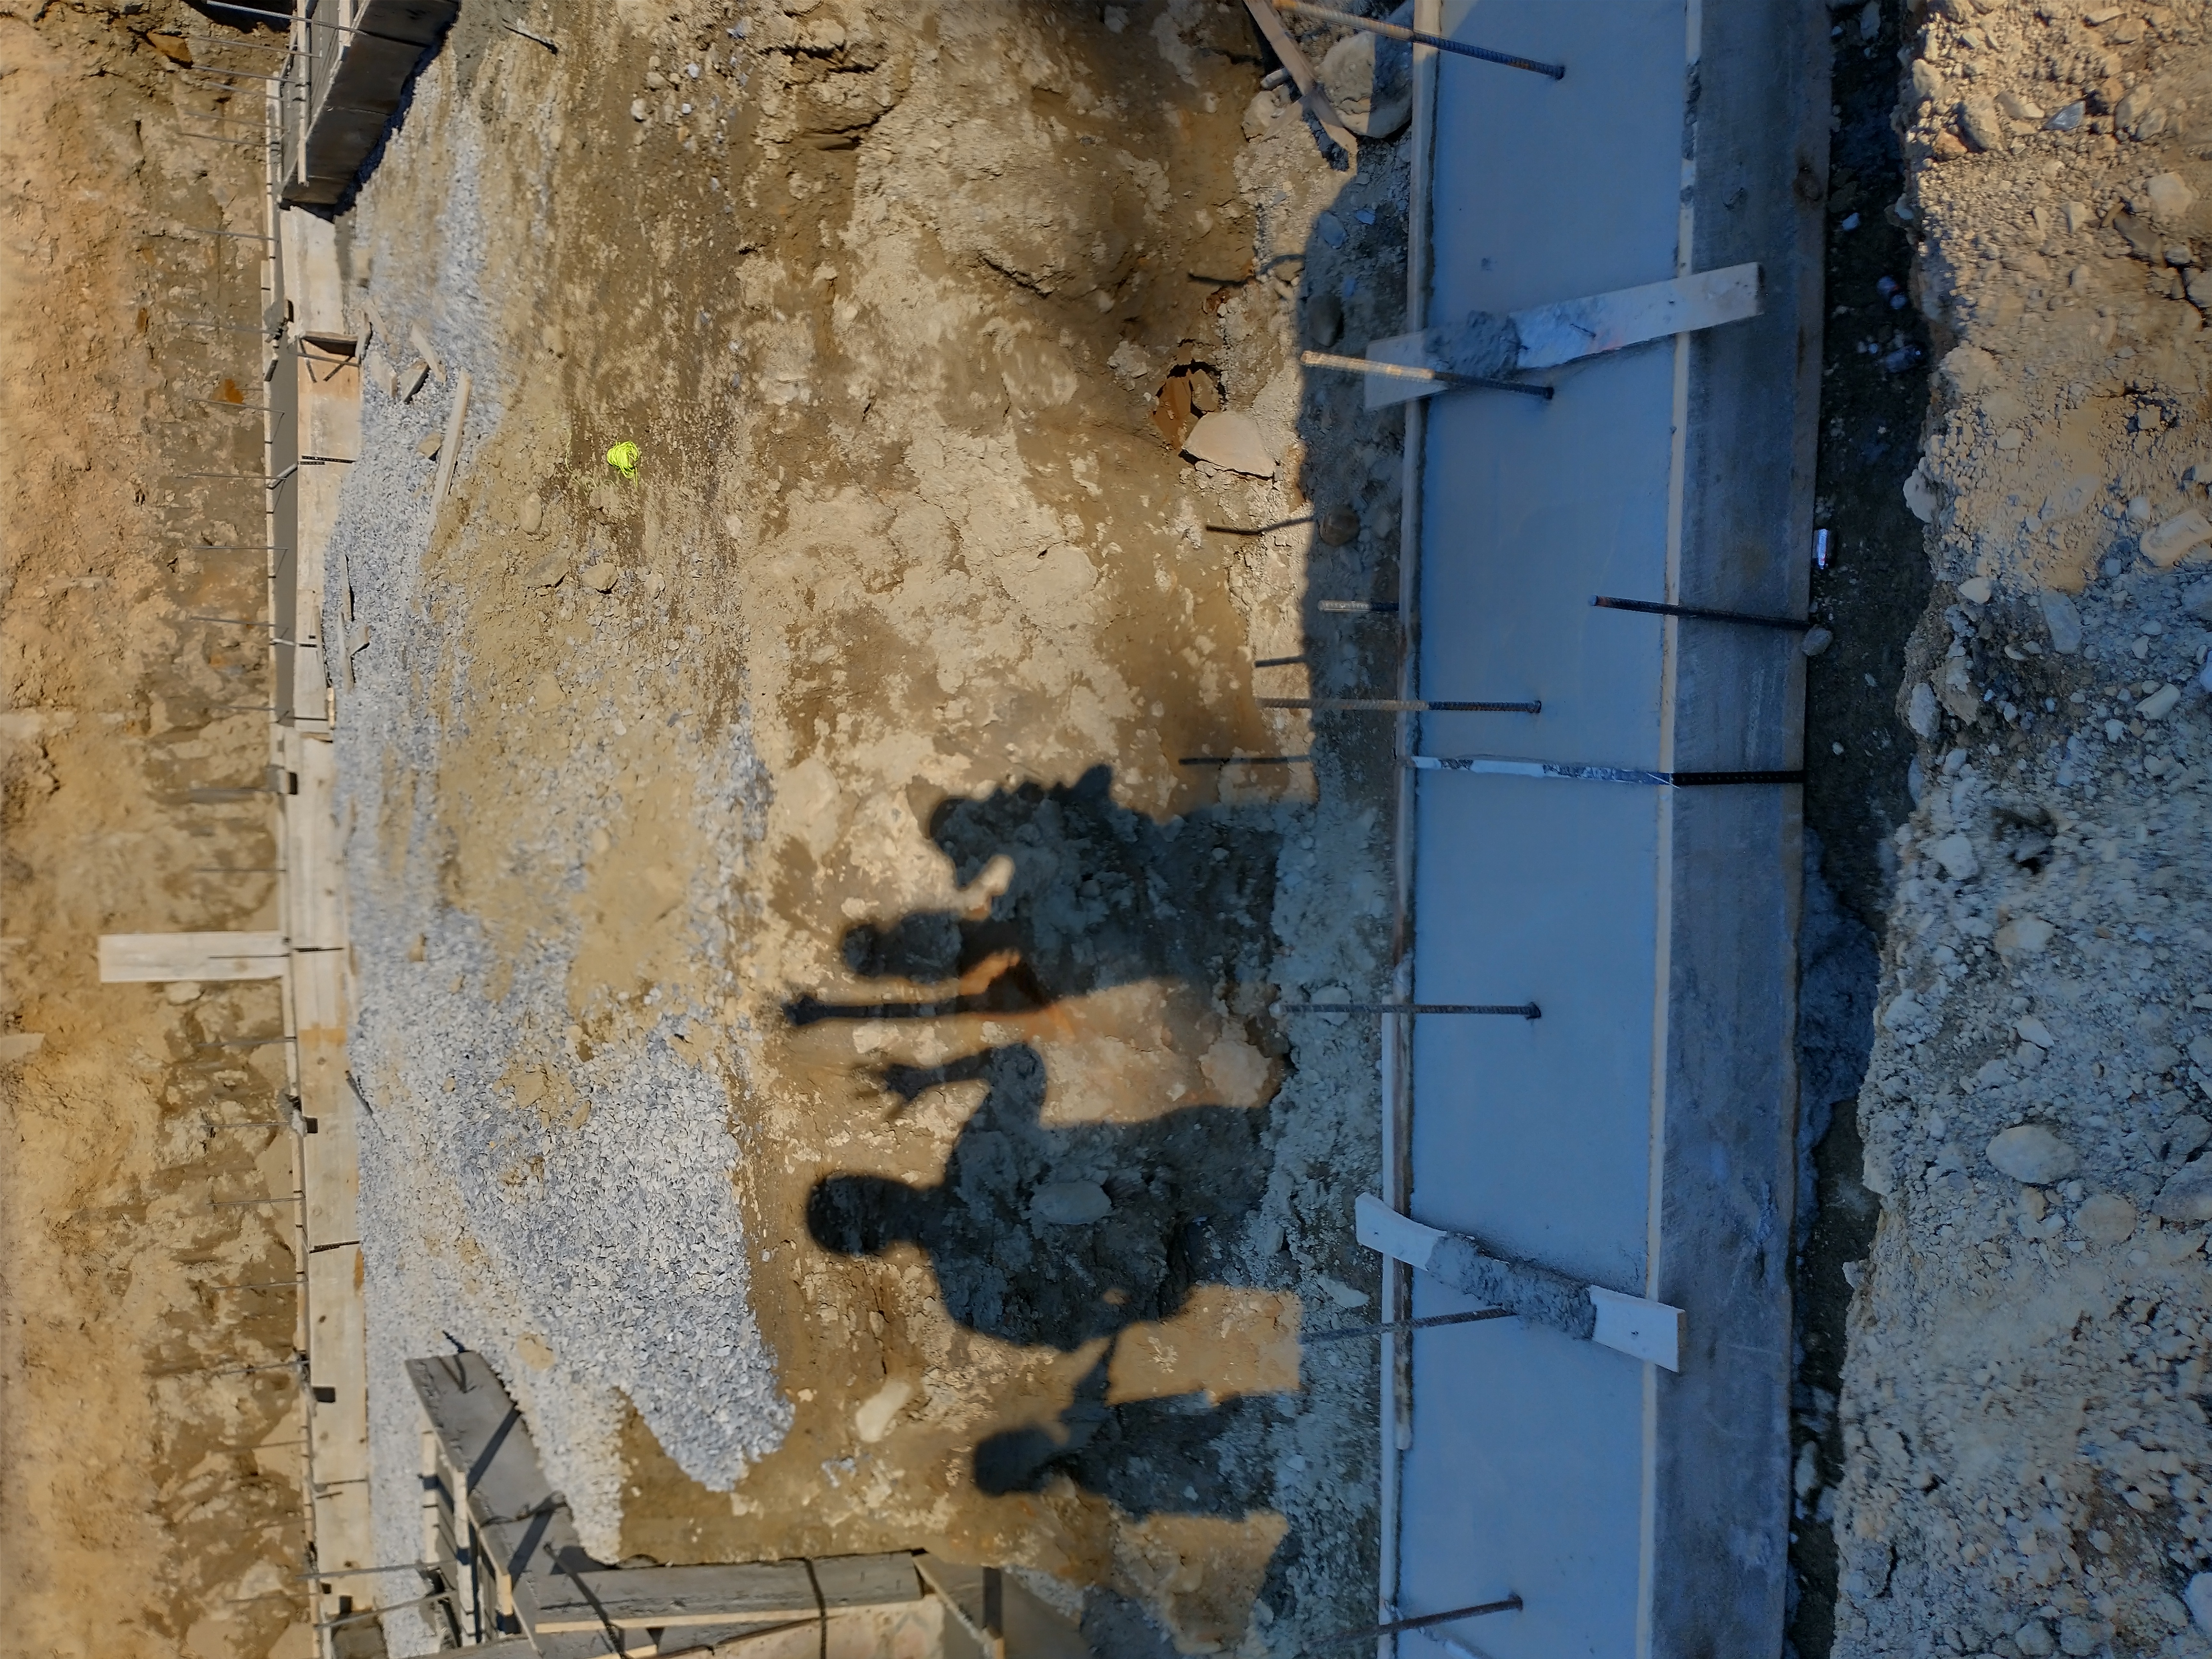
On July 6th, footers were poured. On the 16th, we had foundation walls. Framing began August 5th. We could have simply checked in once in a while, but the anticipation drew us back every time one little change or addition had been completed. We probably burned more fuel running to look at graded crushed stone and curing concrete than we spent traveling everywhere else. When the foundation walls went up we got to see the layout of the house that we had designed so many months ago for the first time. No matter the quality of virtual reality or simulation, no screen, image or blueprint can give you the true feel of a house until you walk inside the new walls.
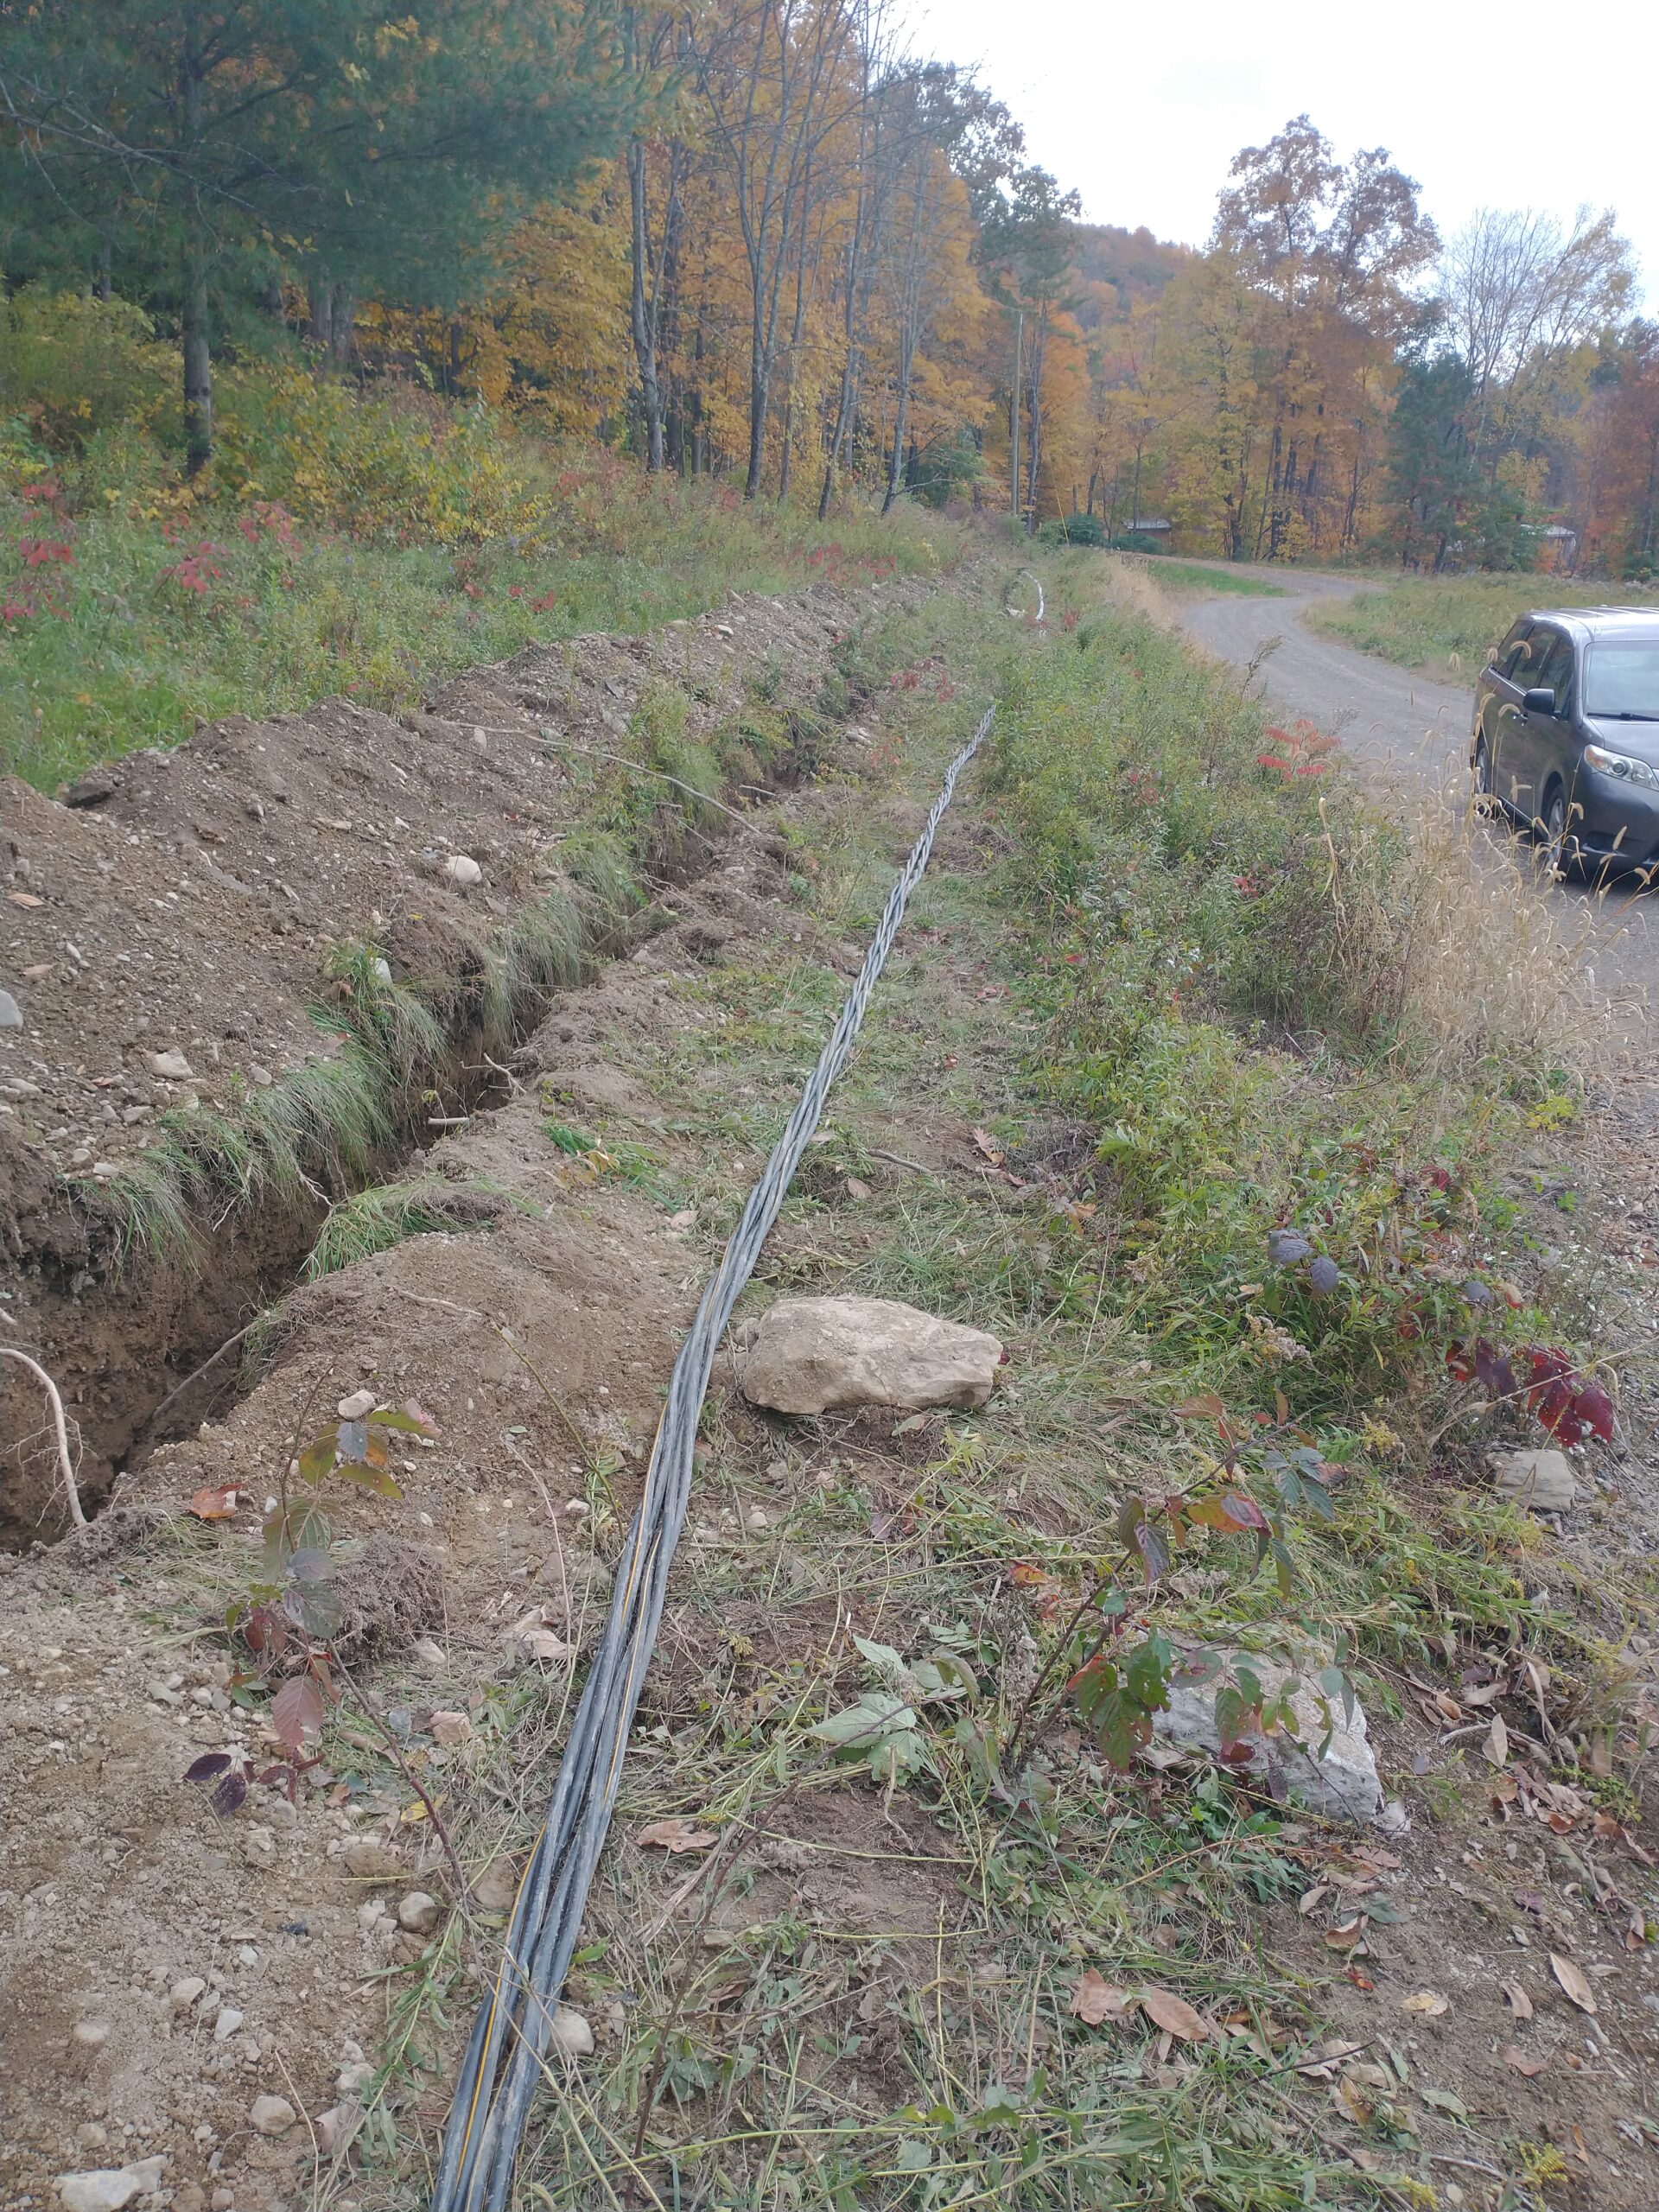
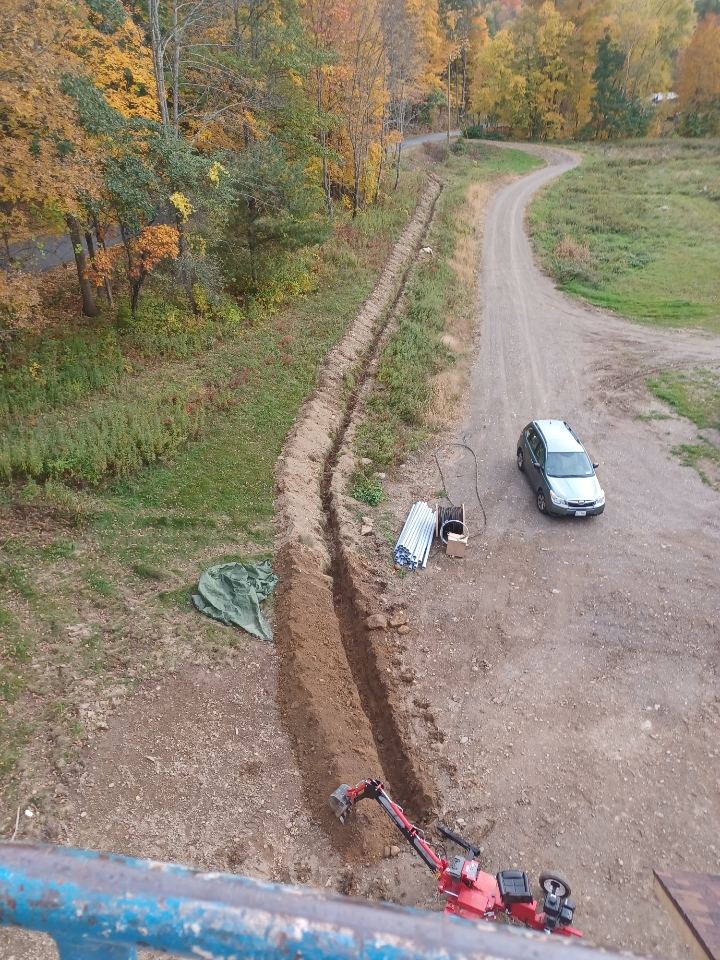
My husband bought a towable backhoe to dig the 305 foot electrical trench. The quote for an excavator to trench for us was more than the cost of the machine. We ended up figuring out that it completely paid for itself several times over between that and subsequent projects. He also used it to dig our water trench, footers for the decks and a few other projects. That little machine was a great investment and my husband cared for “Excavaty” like it was our 4th child.
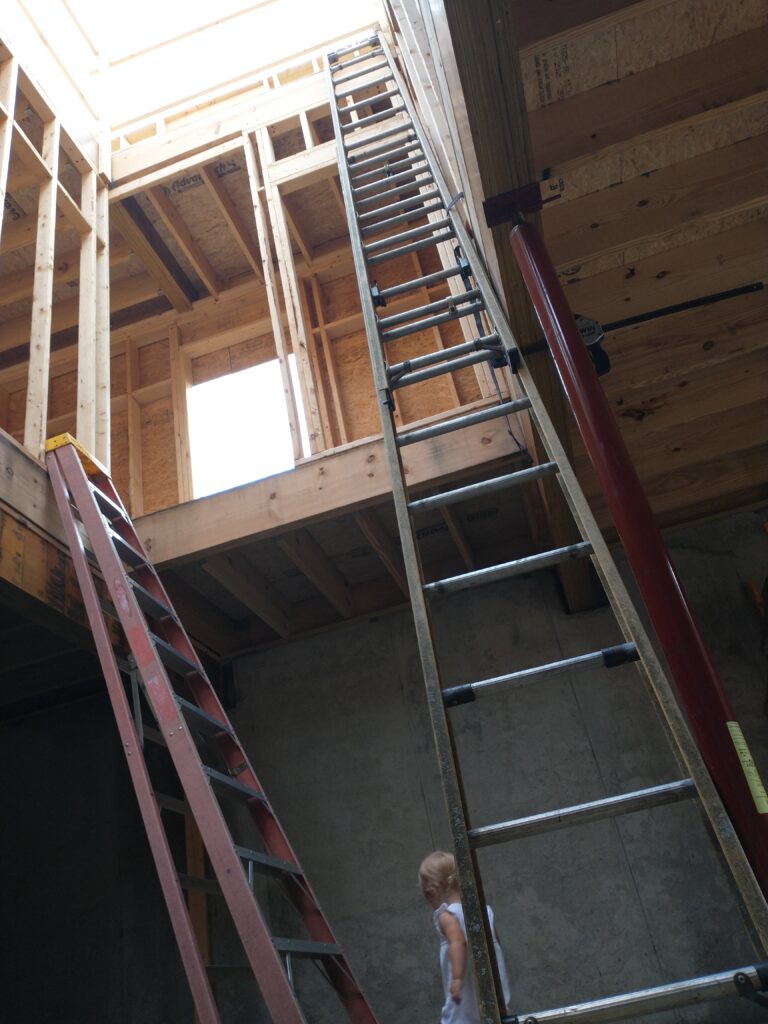
By August 29th, framing upstairs was done. I was about halfway through my pregnancy at this point and I remember climbing a very wobbly, long ladder from the basement up to the second floor to see what it looked like up there. Still no loan from the bank. On September 7th we finally closed with them. We were so relieved because our contractor would have moved on to other work and our build would have been slowed down significantly.
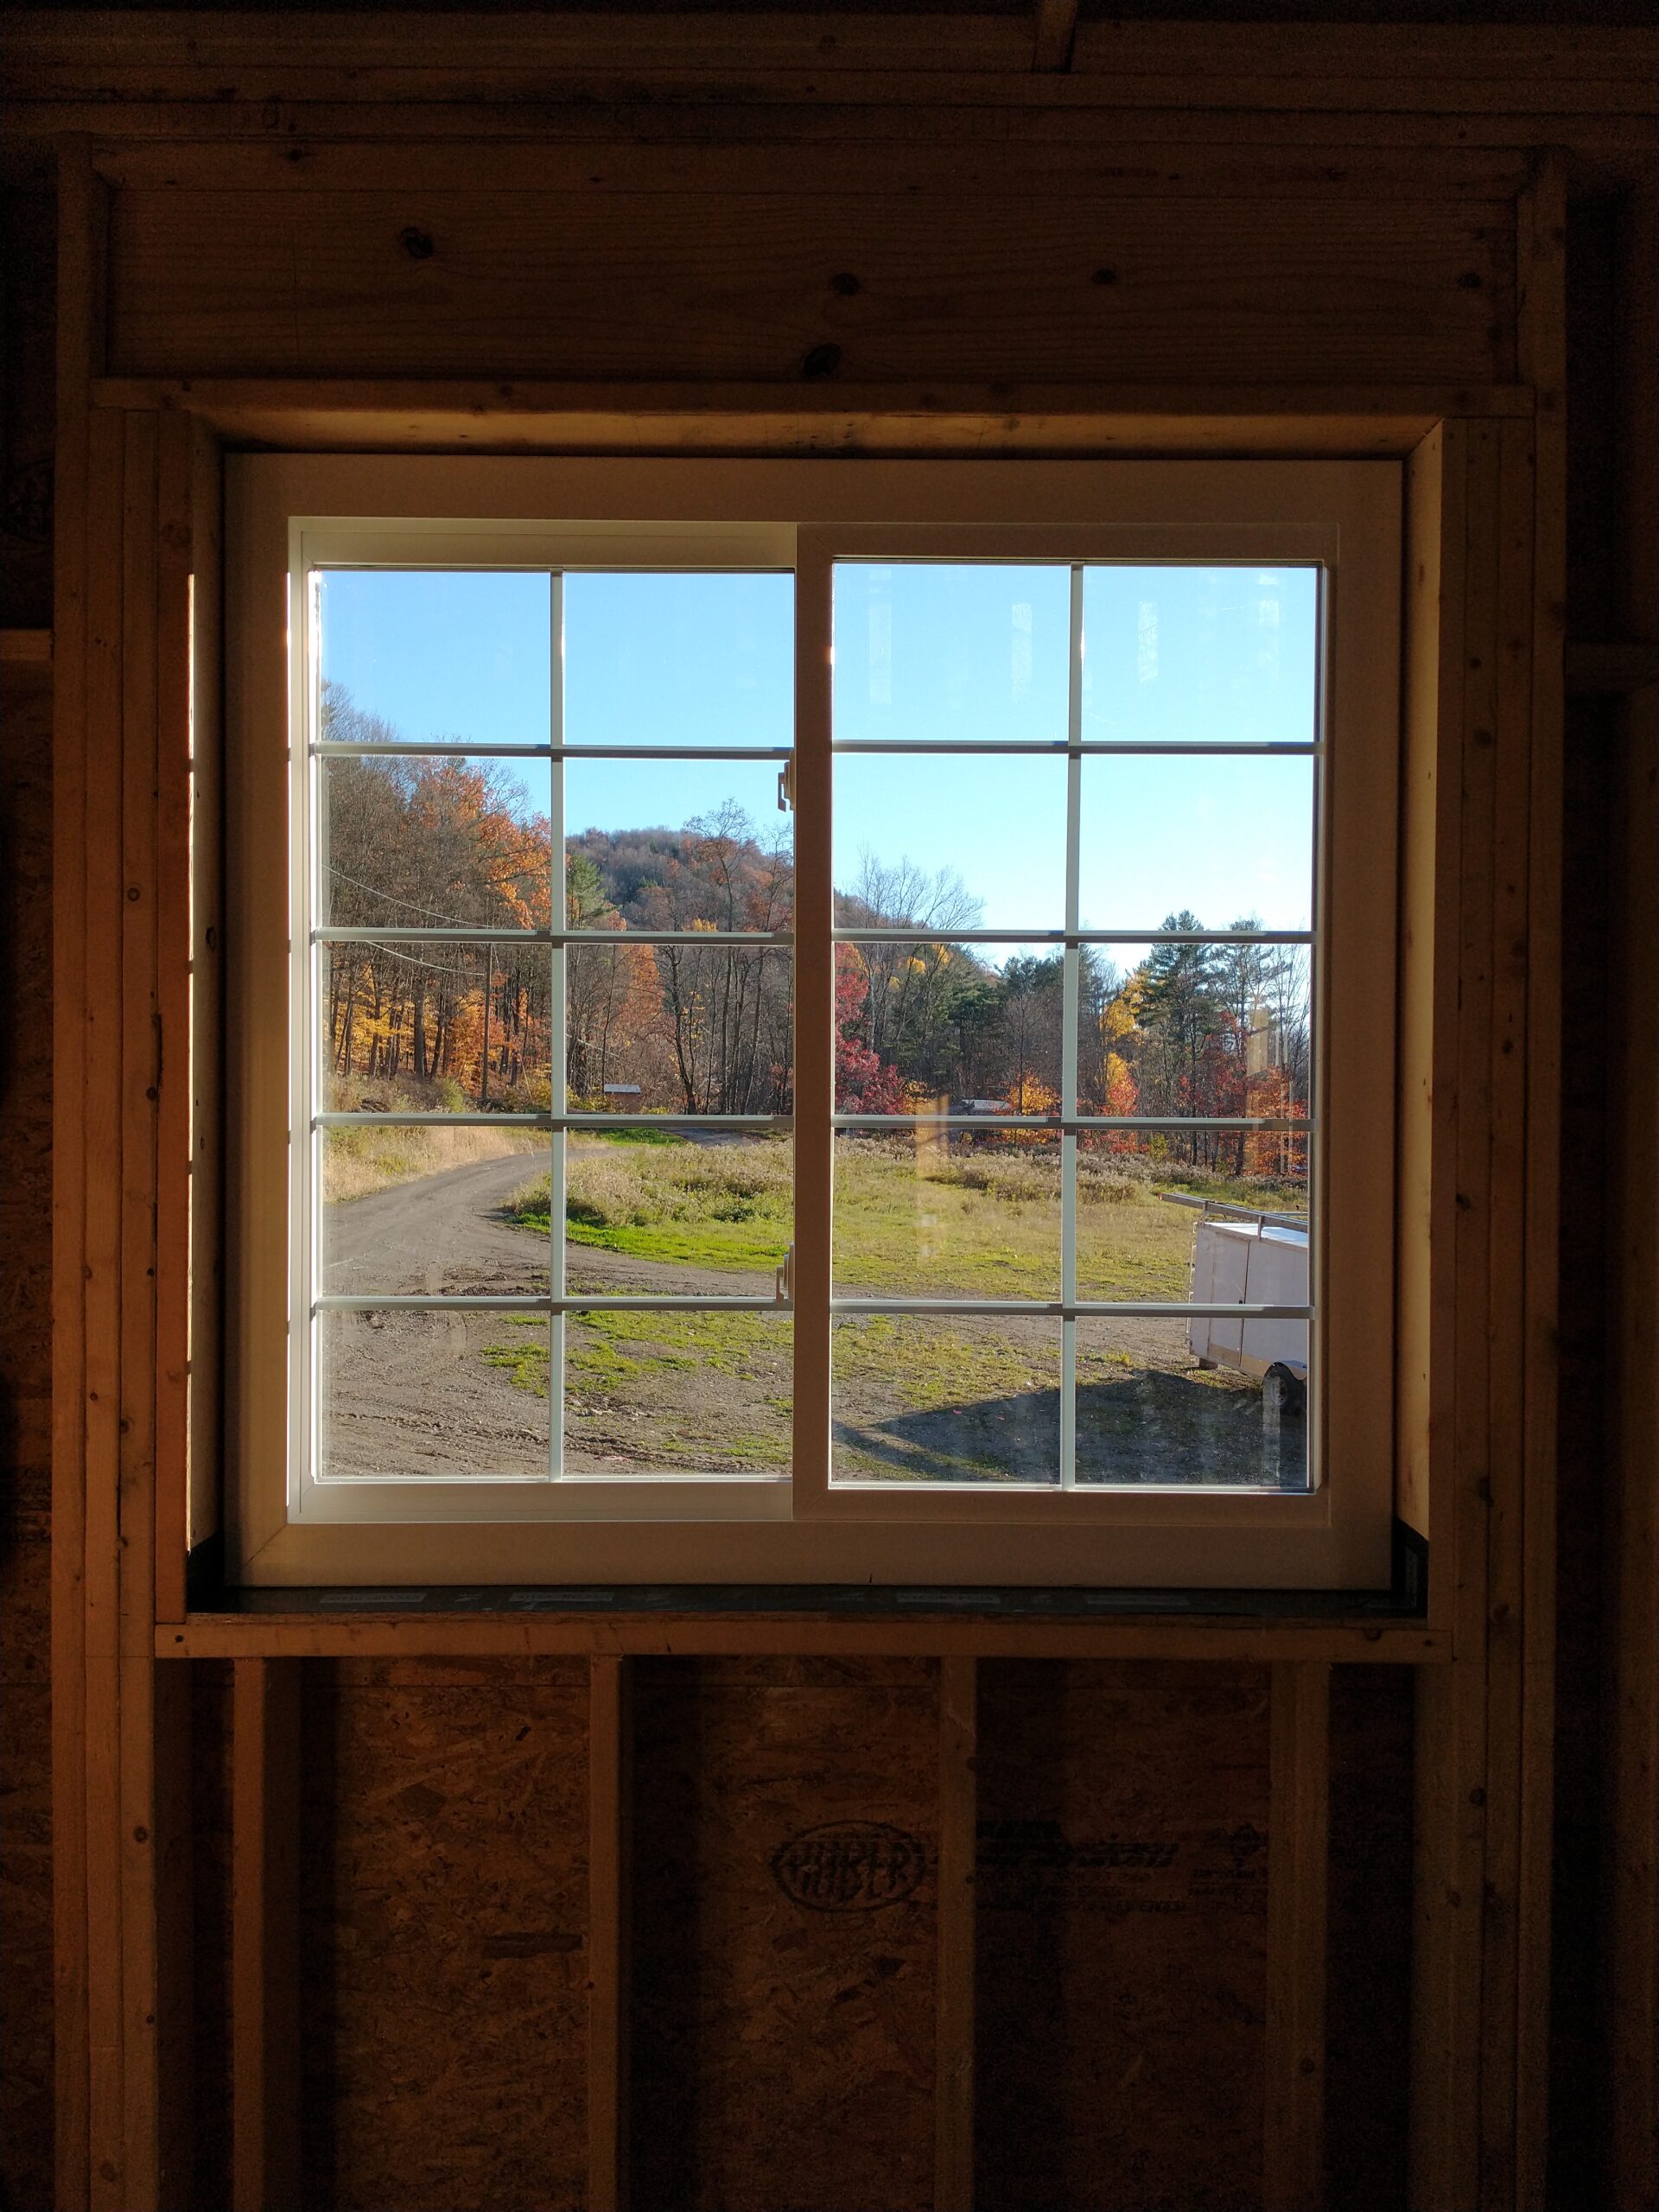
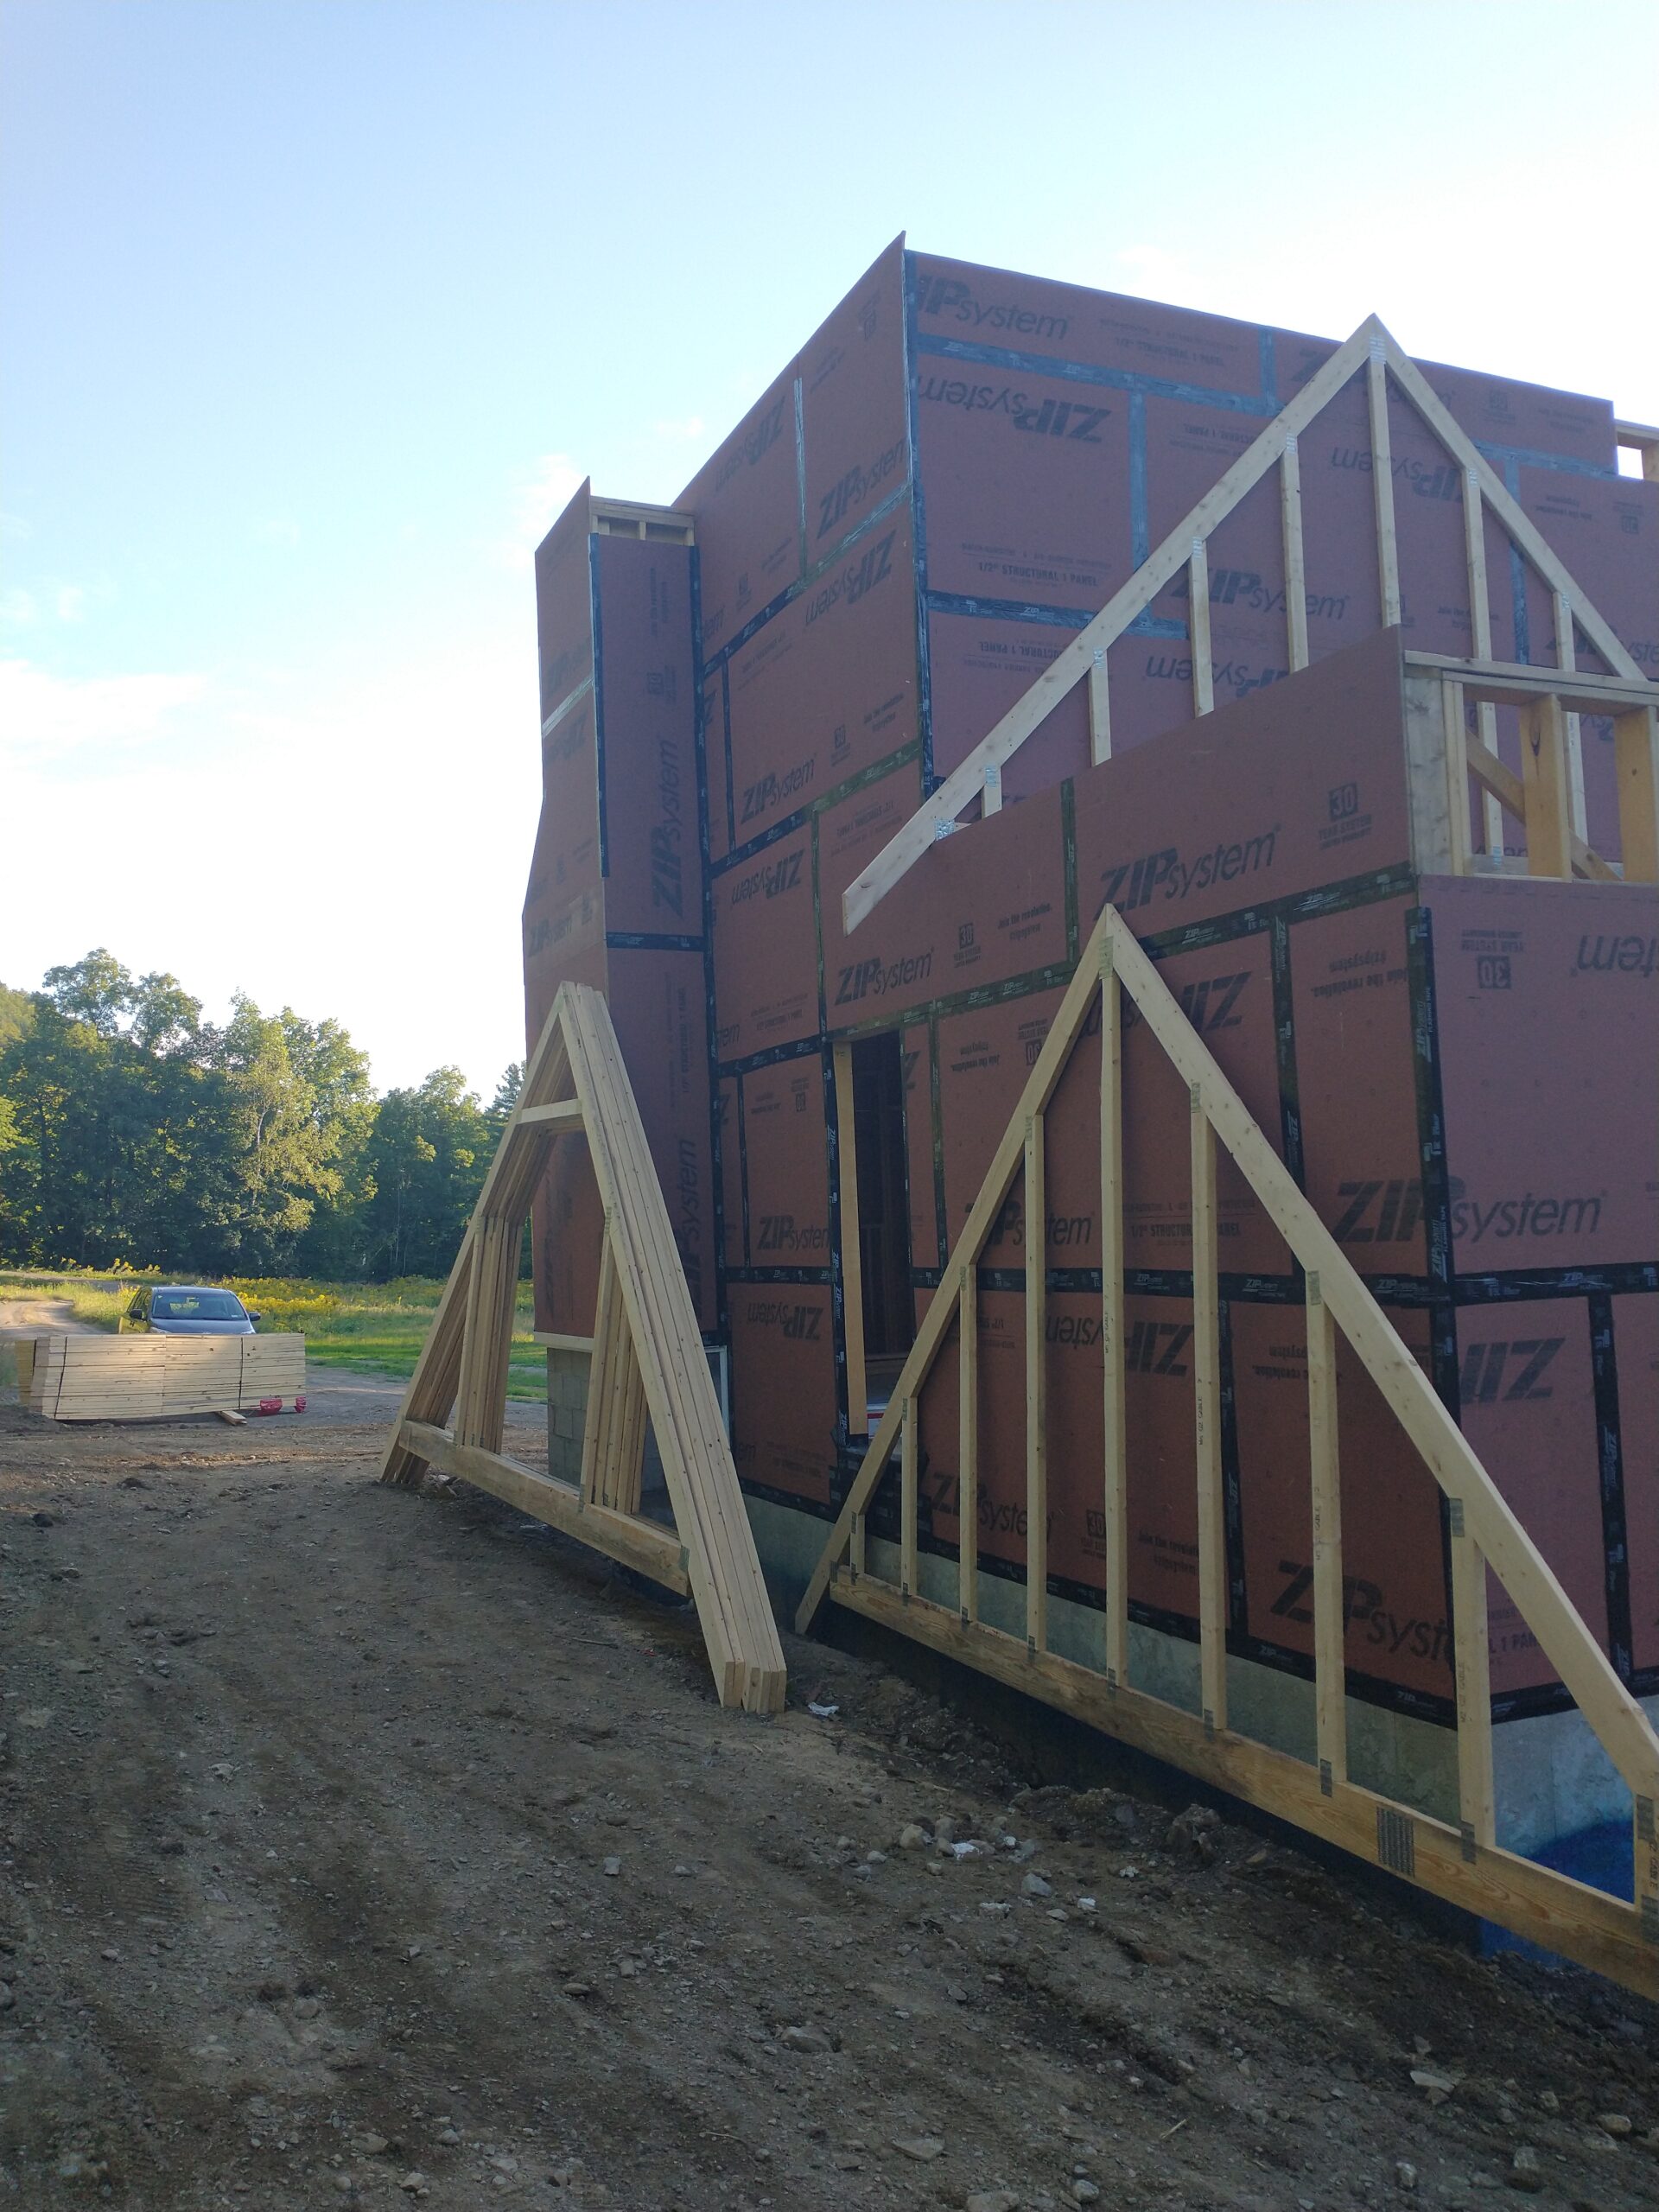
Roof trusses went up Sept 12th. Chris finished digging his electrical trench and laid the service wire in conduit and waited for the electrical inspector before filling it back in. The roof sheathing and shingles went up within two weeks. The shingling guys did it all in ONE DAY! We got windows in October which let in the beautiful Autumn light. My husband installed supply plumbing and helped our contractor with electrical and drains in November. Up until that point, everyone at the build site had been using an outhouse that Chris’s dad built- so it was a happy day when we had a functional toilet upstairs. The bathroom door would come later, though.
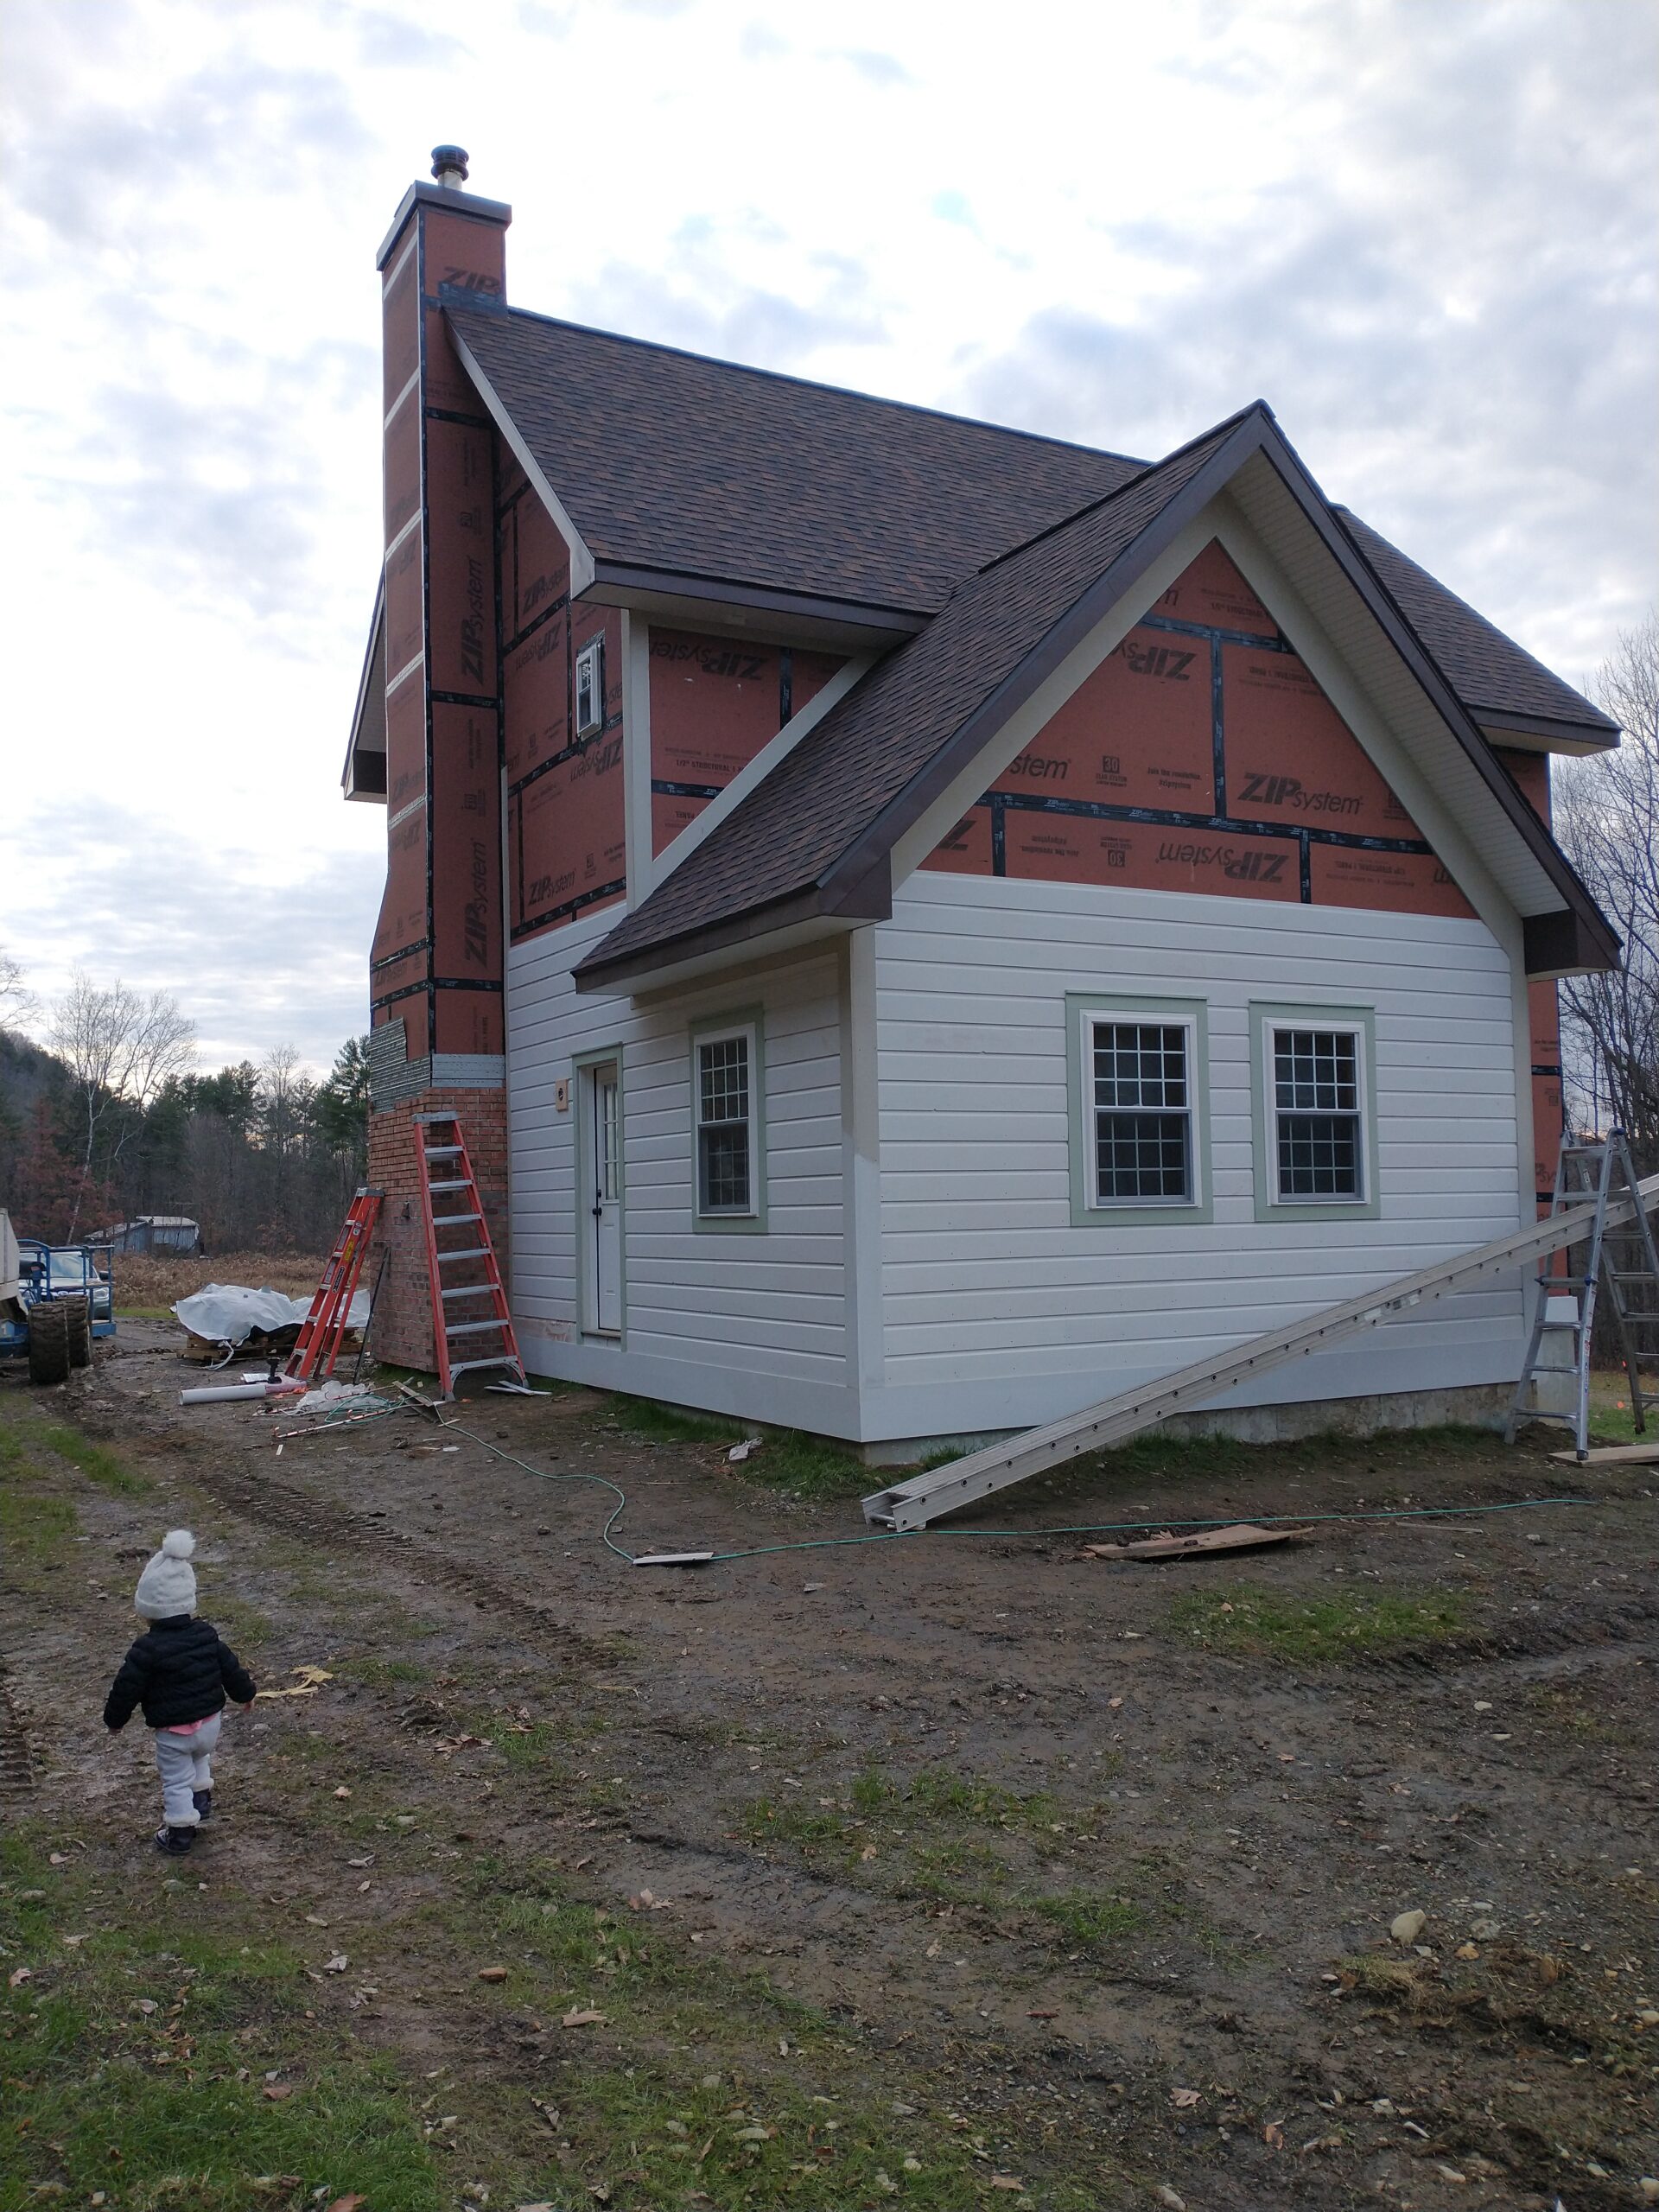
One day, Chris came home from work and said, “We need to go buy exterior paint.” We hopped in the car and I frantically googled exterior paints for the whole 20 minute ride to Home Depot trying to make a decision. I’m still not sure I chose the right one but you can’t go too wrong with white.
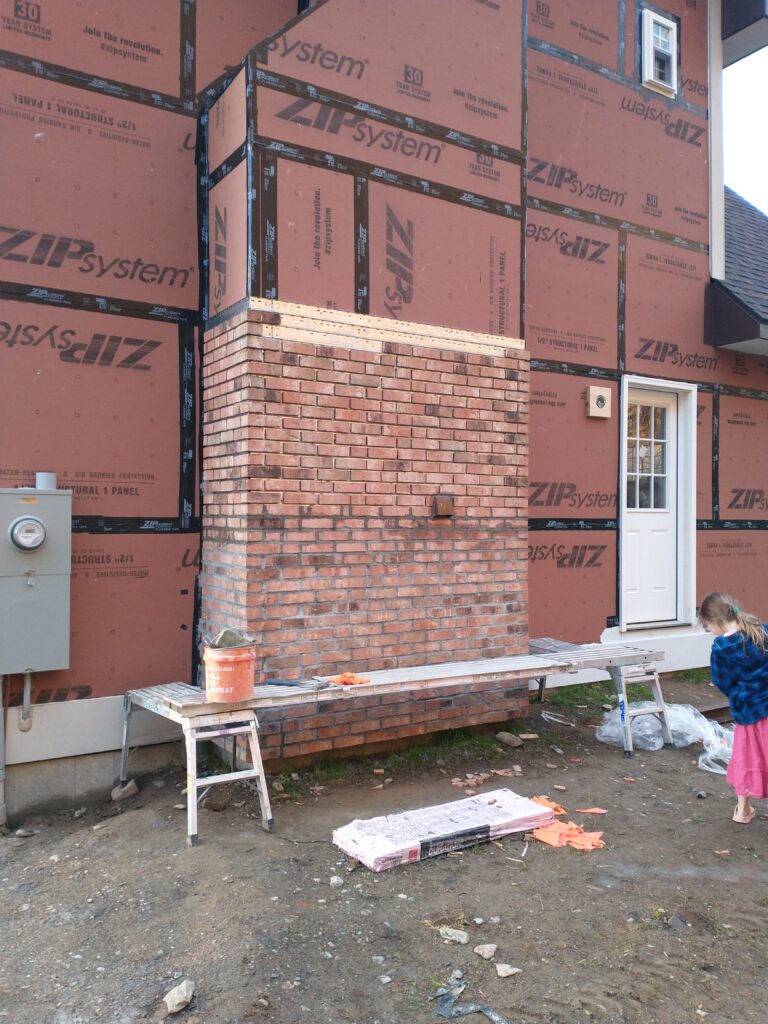
We started putting brick on the chimney in November using thin brick from a company called Brick-It. The metal panels are laid out, squared, anchored to the sheathing, tiles fitted, cut, glued and grouted. In this case, we needed so much grout that we simply used Quikrete Type S Mortar as grout. It is durable and cheap. The grout was finished in messy-mortar with a trowel so that it appeared to be a 250 year old chimney that had been repointed a dozen times over the centuries. Our contractor was gracious and trusting enough to let us borrow his hydraulic lift to finish out this project. He wasn’t as trusting that the messy-mortar technique Chris was doing would look good, but we love how it turned out.
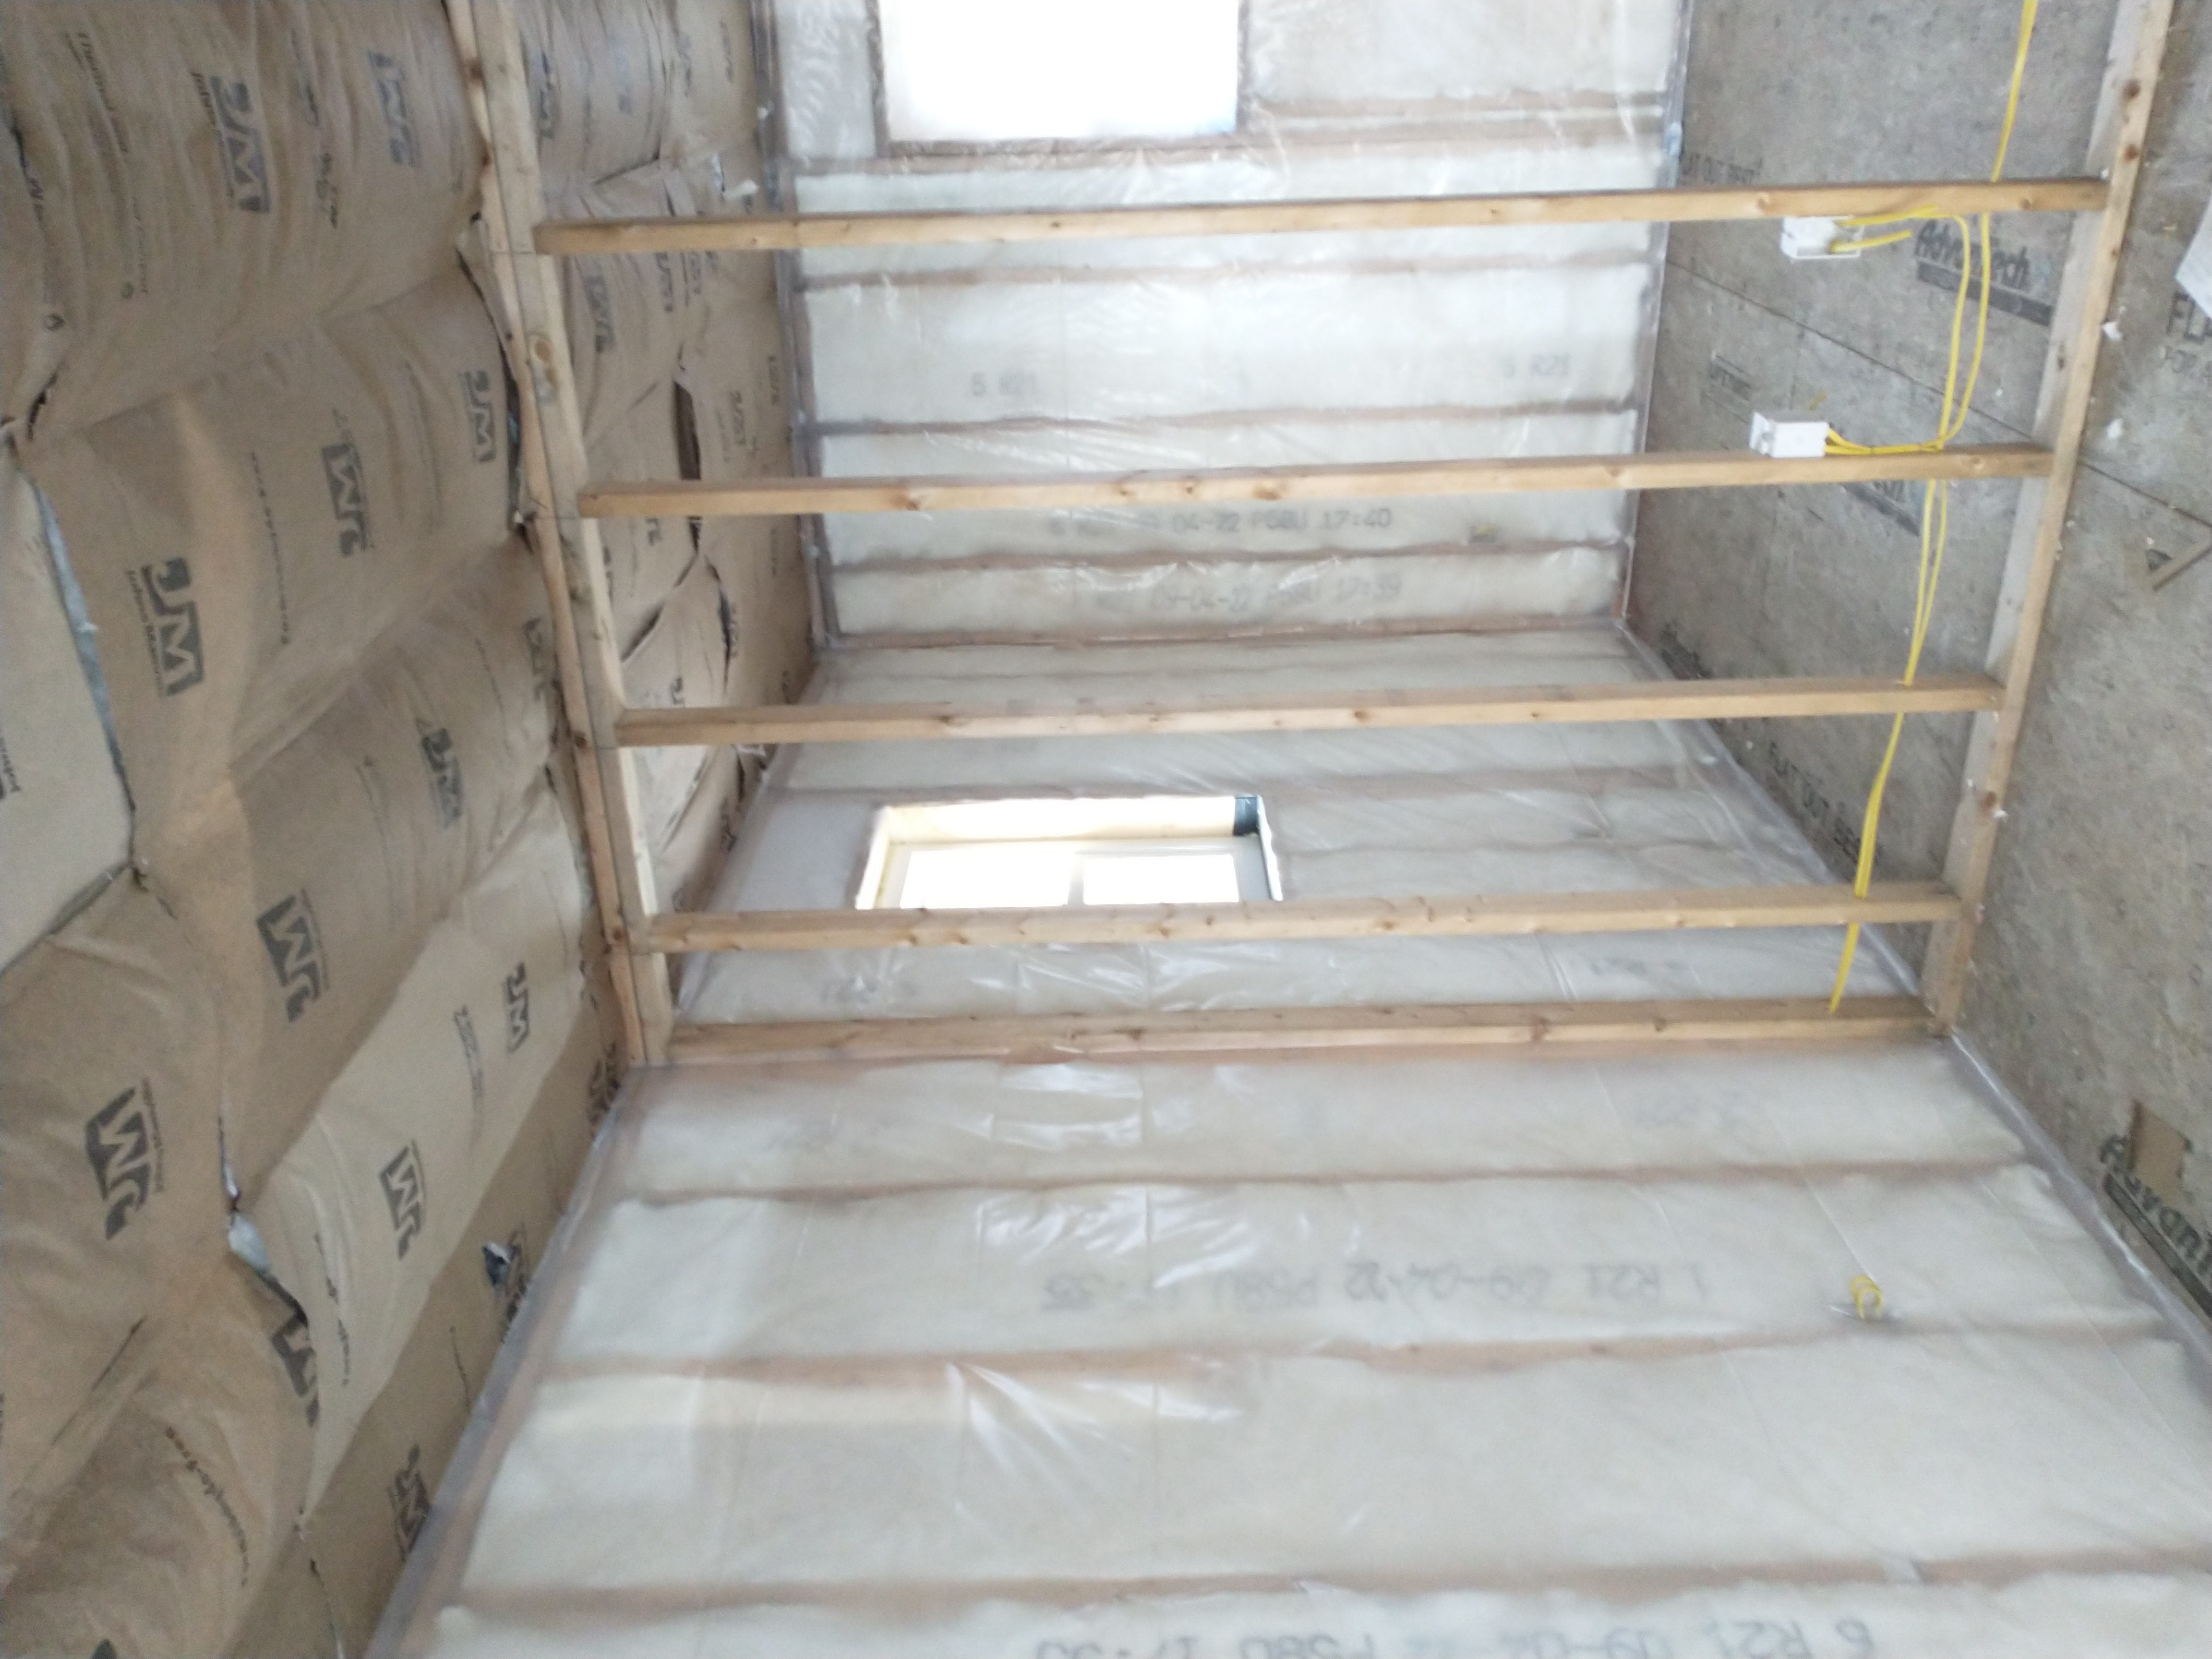
We got insulation installed and siding started to go up in December. Chris dug the footers and poured them in December. He ended up having to dig them back up for an inspector, it was a whole thing. It ended up being fine but was a very stressful moment – (one of many!)