Detail Work and a New Baby
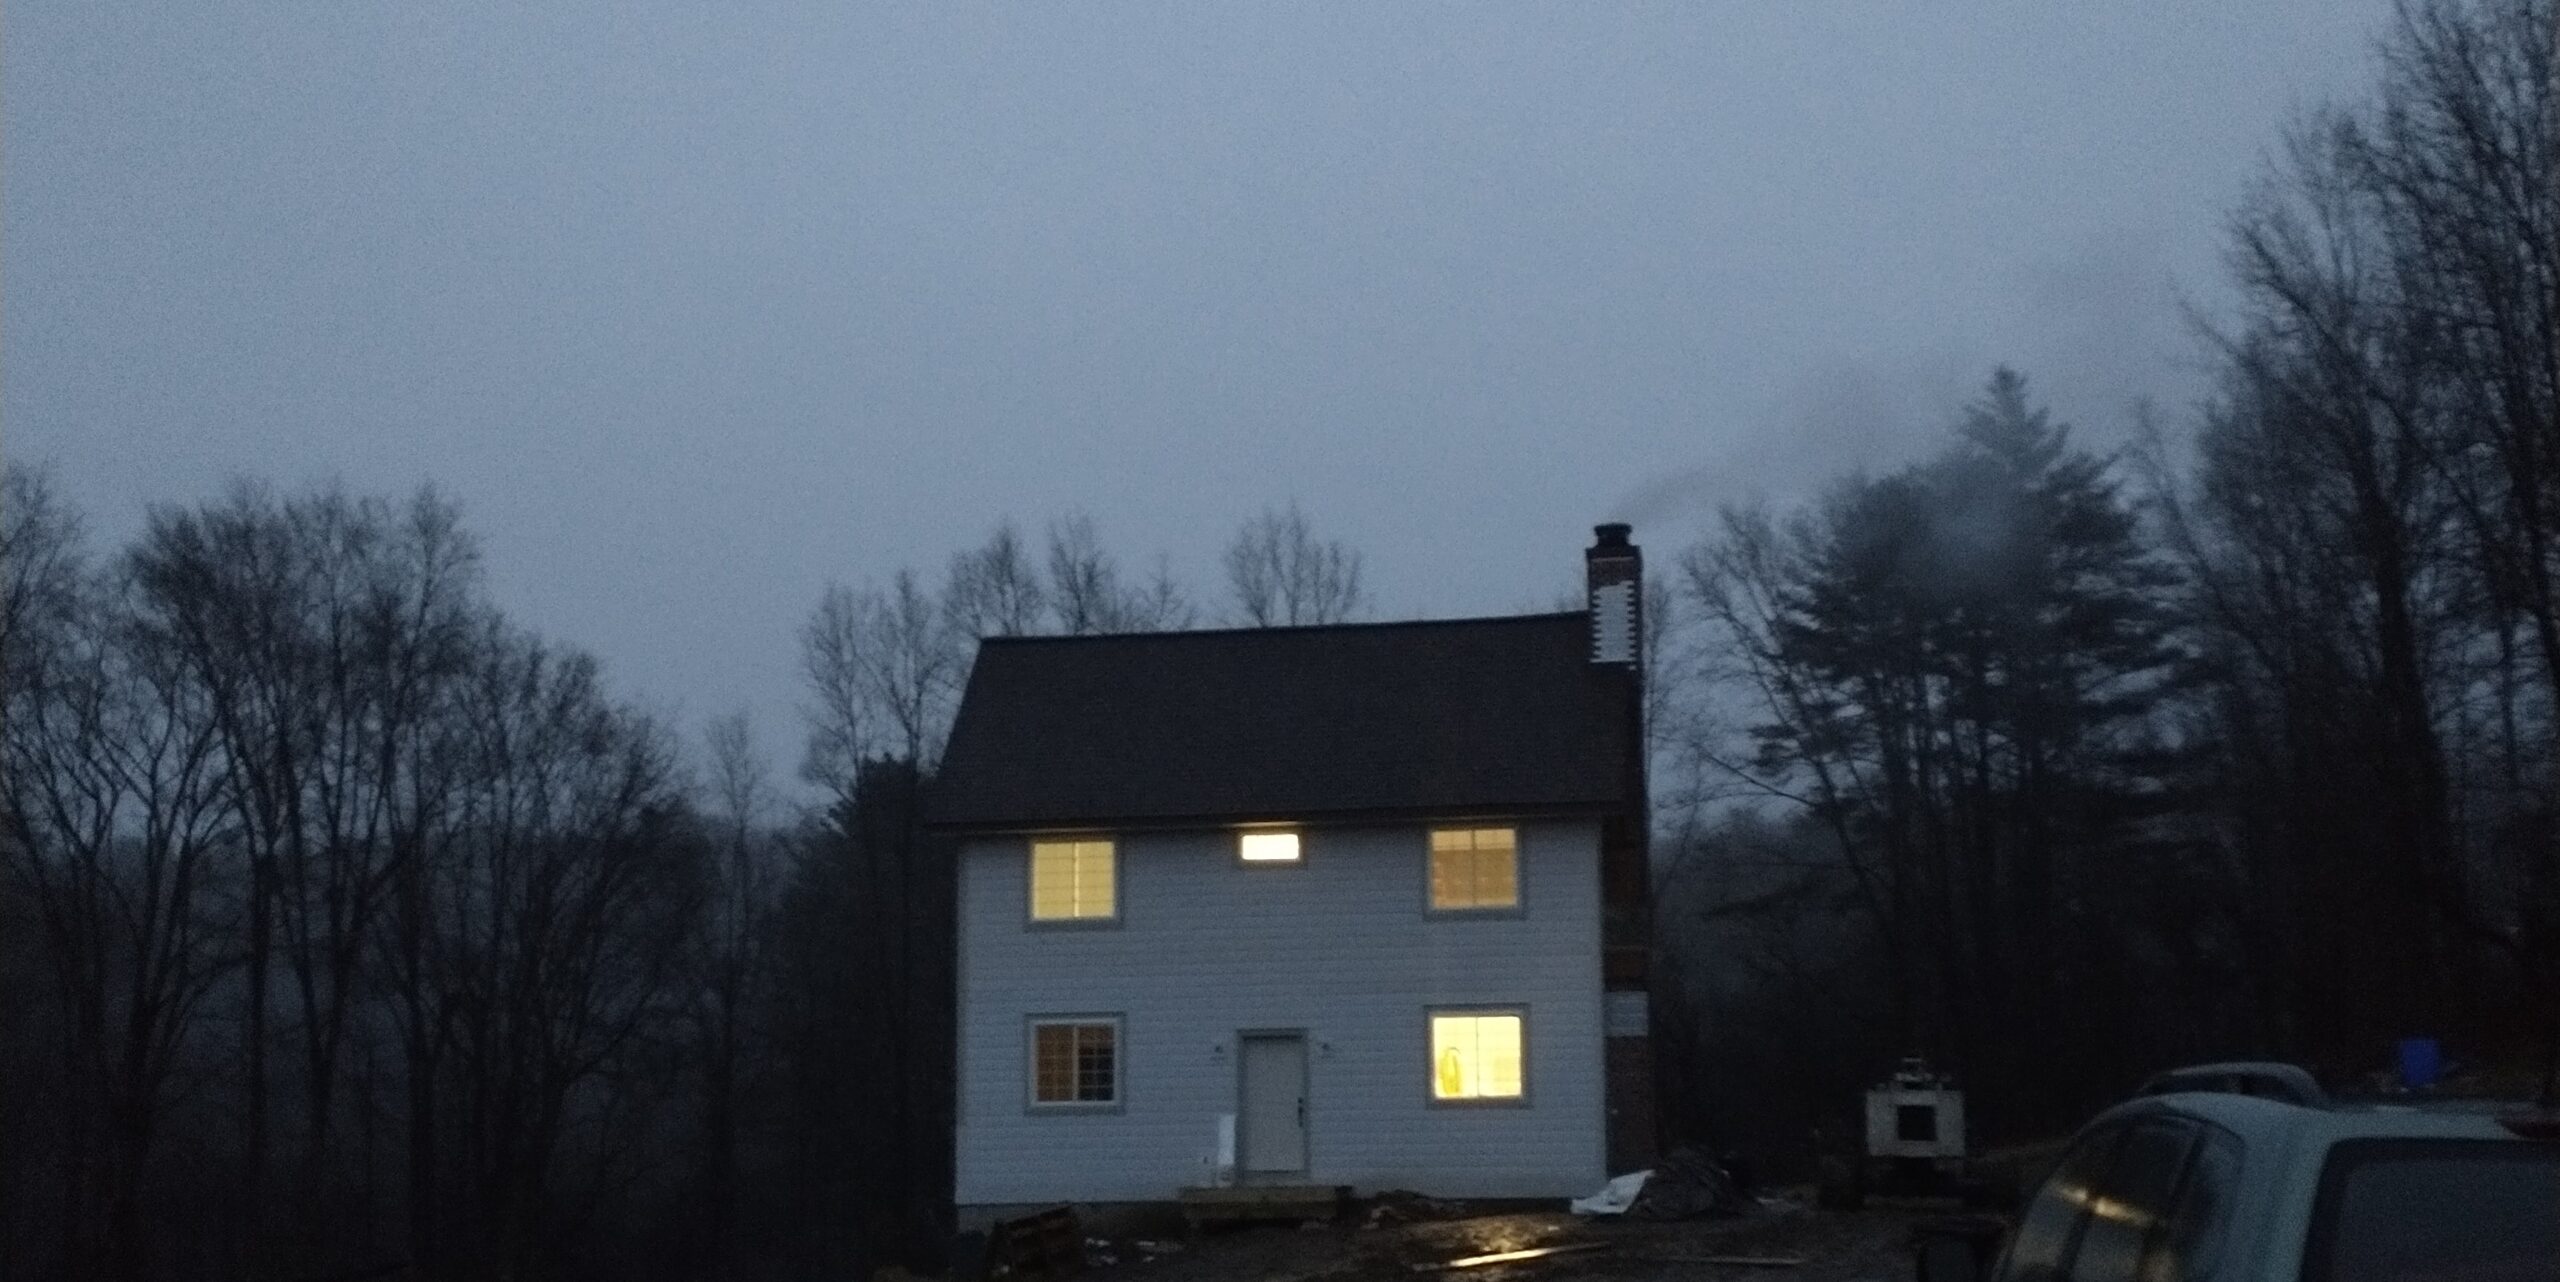
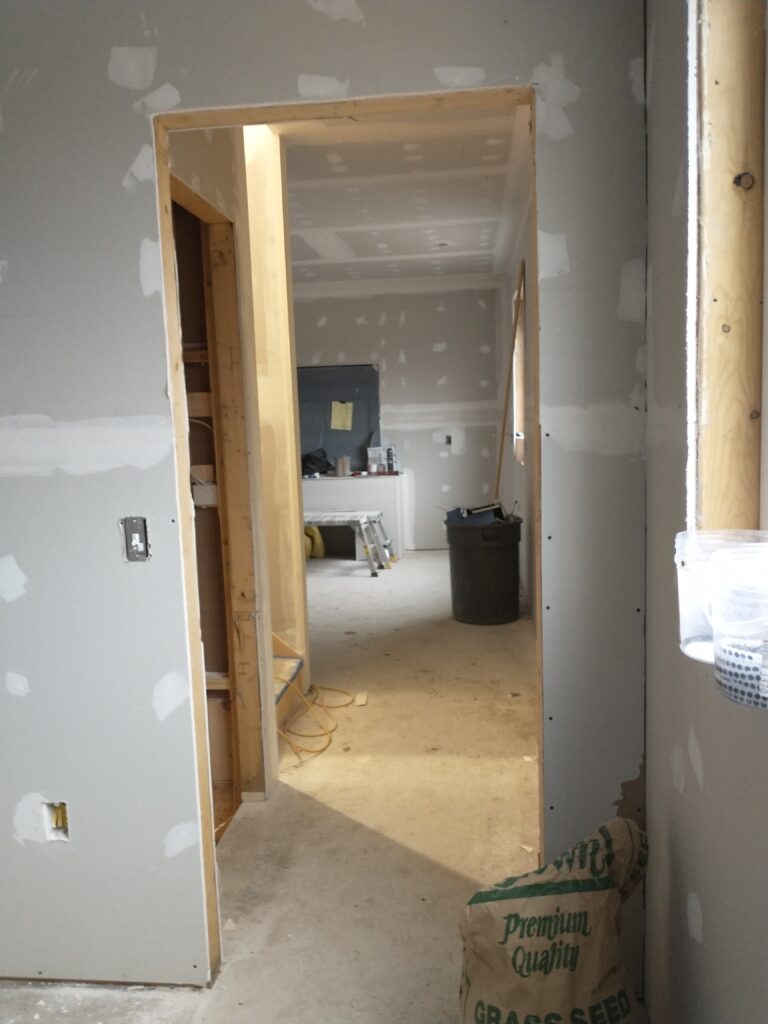
Chris started building the frame for our kitchen hearth extension that he designed, and poured a concrete slab on top (which was covered with more Brick-It thin bricks later on). For him, there was a lot of coming home from work, eating dinner, running to the building site, coming home at midnight. But the inside was starting to take shape. We got sheetrock on the walls, which made if feel more like a house and less like a semi-finished garage.
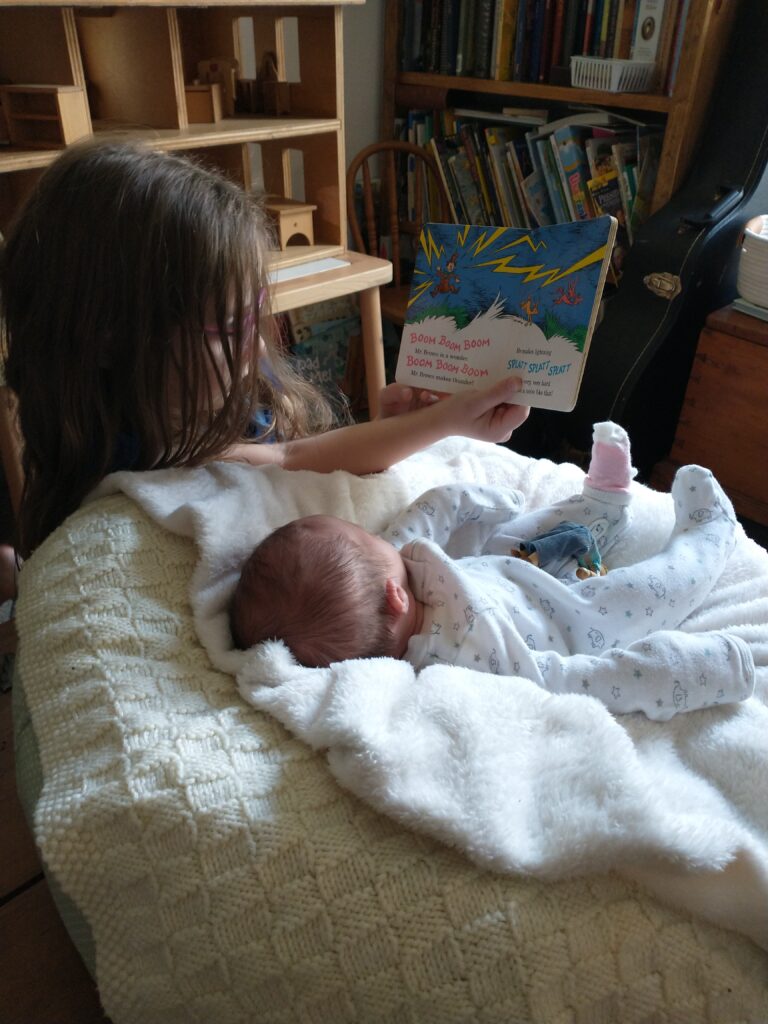
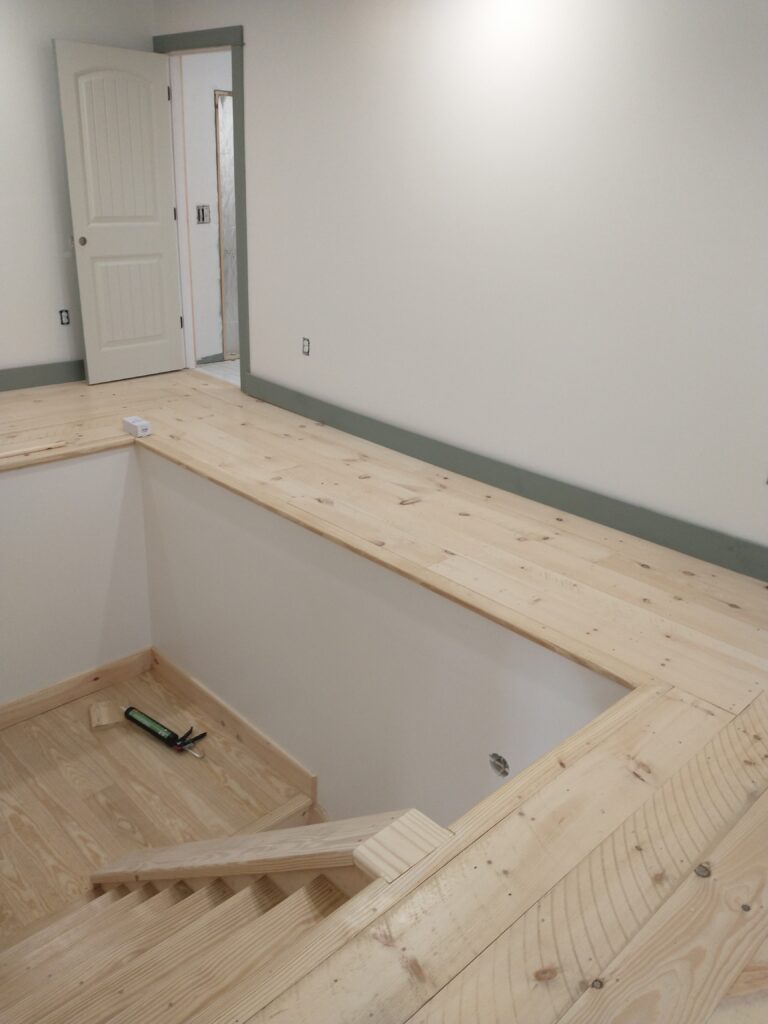
In January, our wonderful 3rd daughter “Agnes” was born. I would love to say that I had a blissful postpartum experience but other than being happy to have a new member of the family and being thankful for our new house being built- that was a very difficult time. My husband had only 3 days of paternity leave and needed to jump right back into work on the house to make sure we could move by our deadline. The day after we got home from the hospital I was carrying my 19 month old up and down our steep stairs and getting her in and out of the crib for naps and doing all the other mom stuff. And not too long after that, I had to start packing for our move. I don’t look back on that time fondly whatsoever.
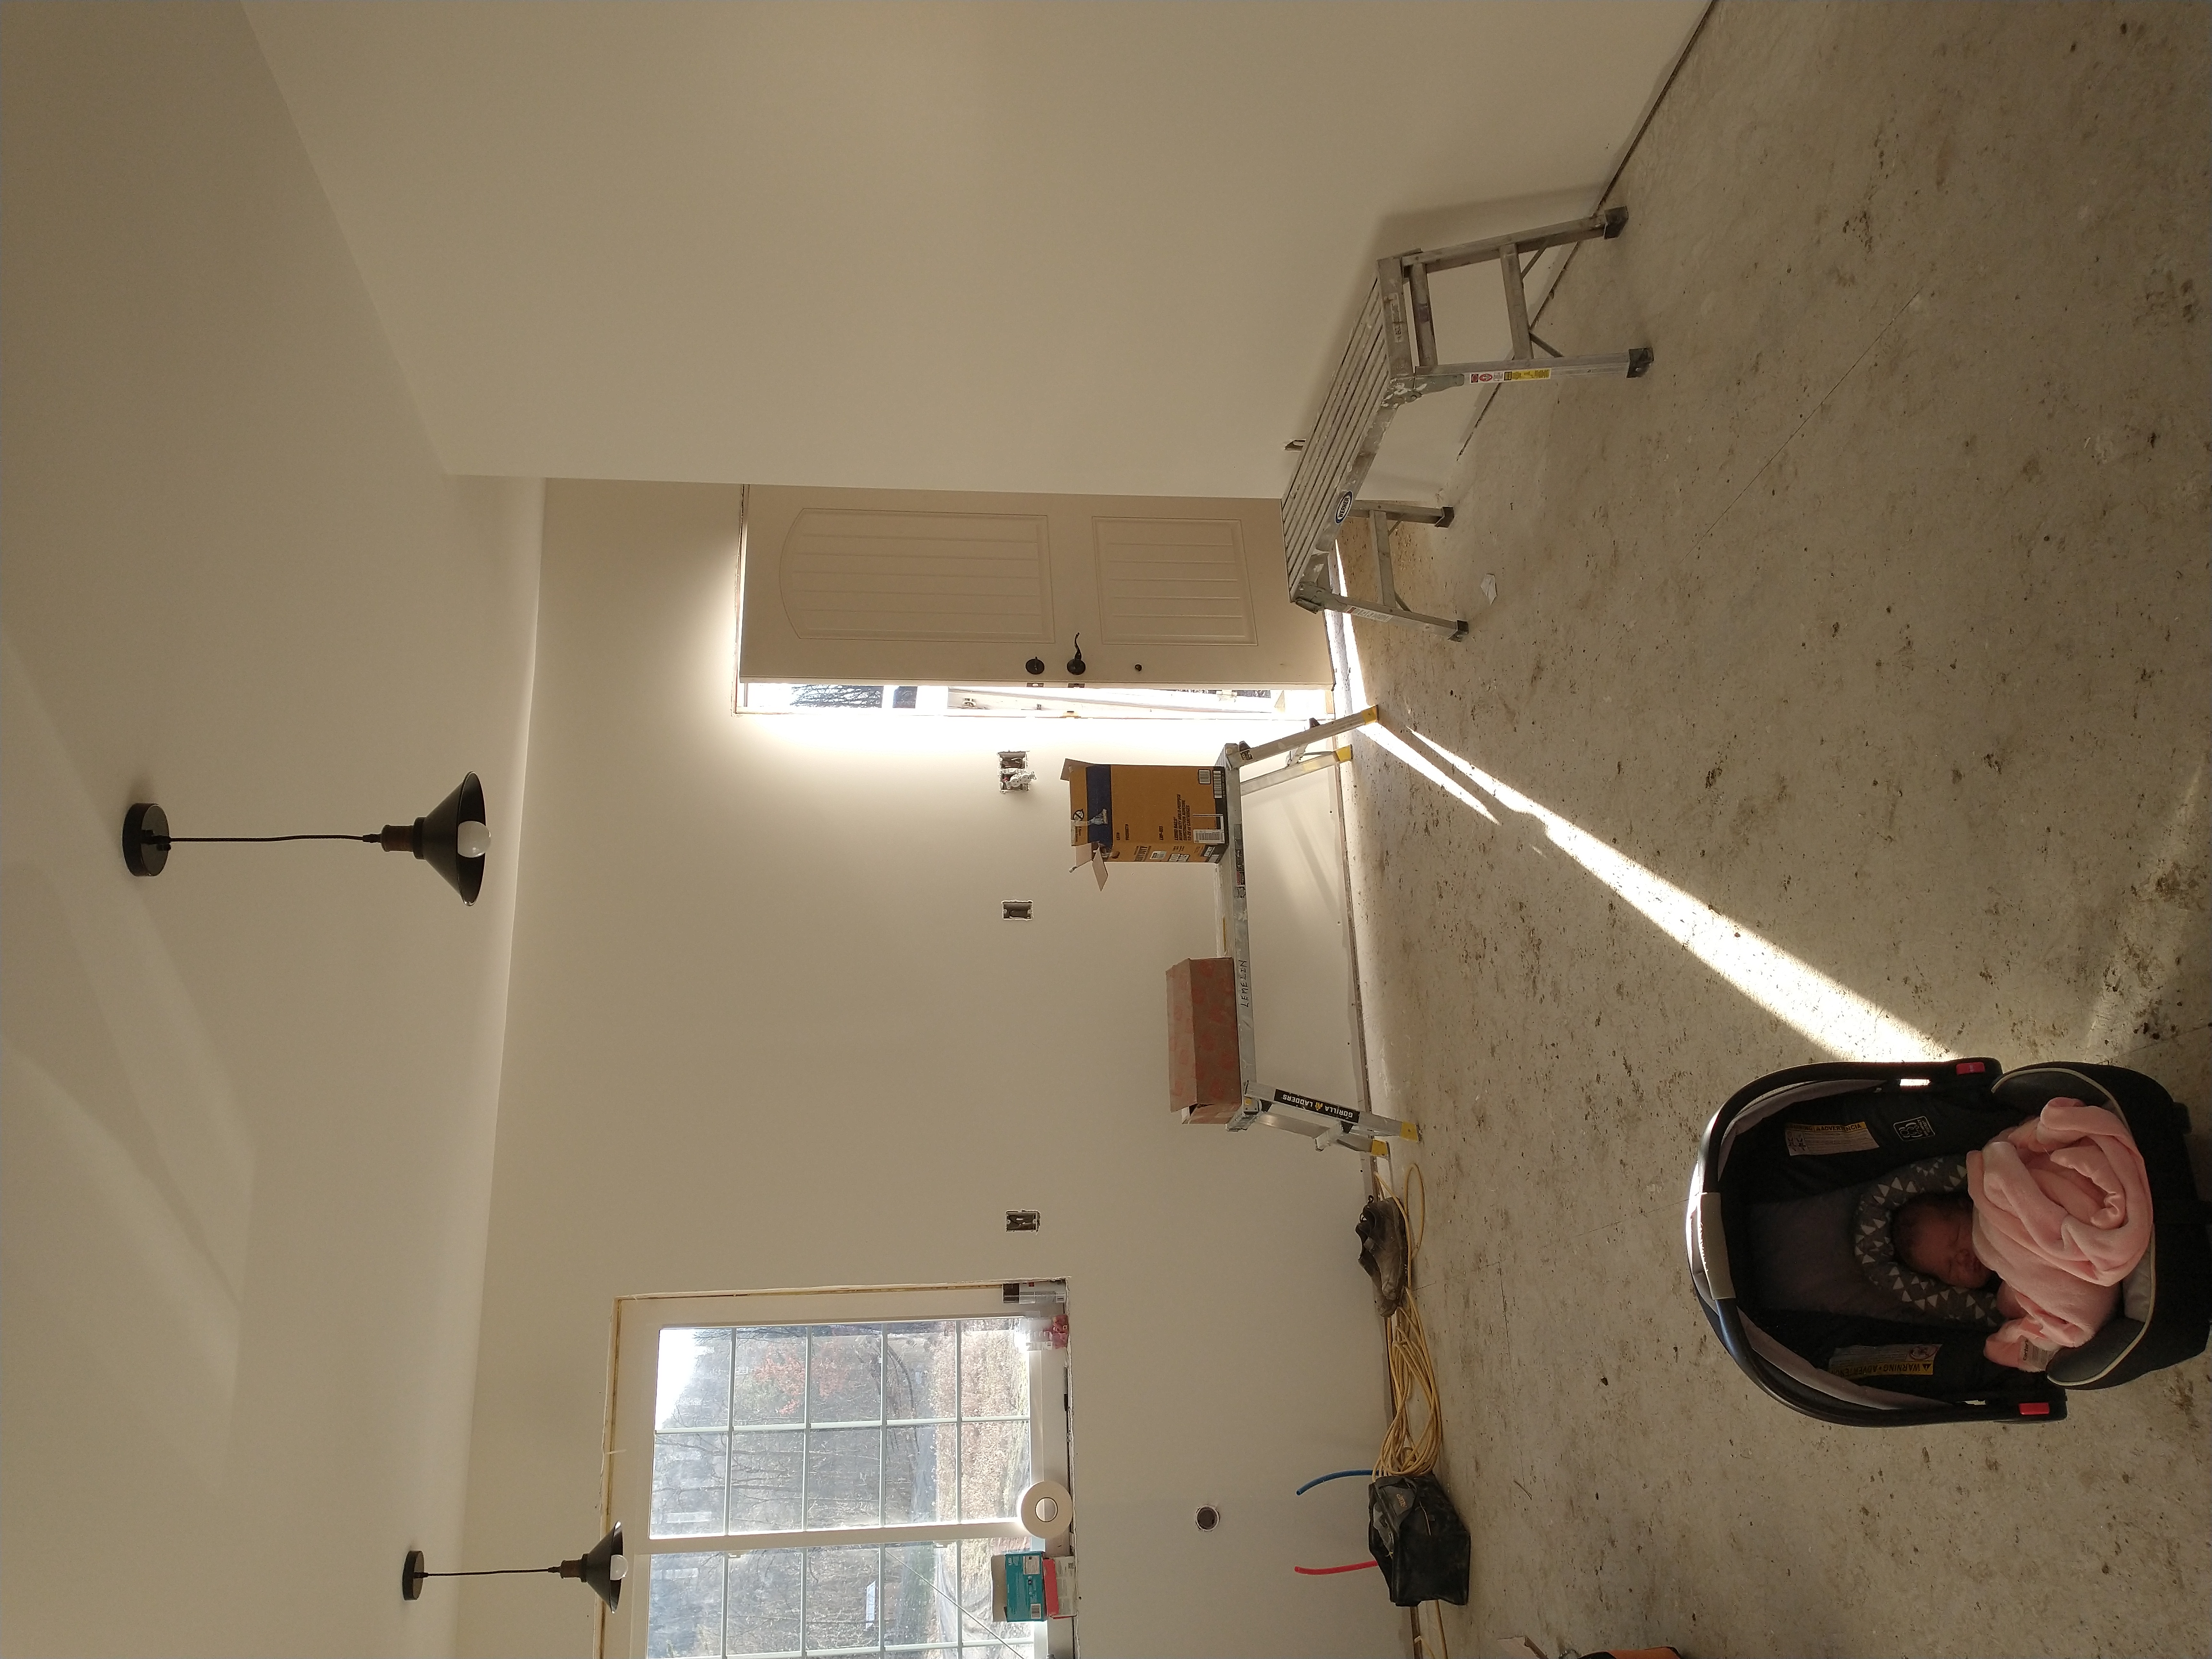
We got interior doors and the back deck went up within two weeks. Originally, we had planned to just get cheap, hollow-core interior doors, but we ended up with solid core doors which matched our front door. They were more expensive but in the end, they won’t ever need to be swapped and they match, so there’s that! The tile in the bathrooms was completed with my husband completing the downstairs one himself and assisting in the upstairs bathroom. Schluter system uncoupling membrane (Or the amazon equivalent which we used – available here) is a game changer if you are going to do it yourself! We have a painter friend to whom we paid to paint most of the main walls, and I said, “I can paint the trim.” I am still painting trim and doors over a year later.
DIY isn’t always simpler. It is much more rewarding though
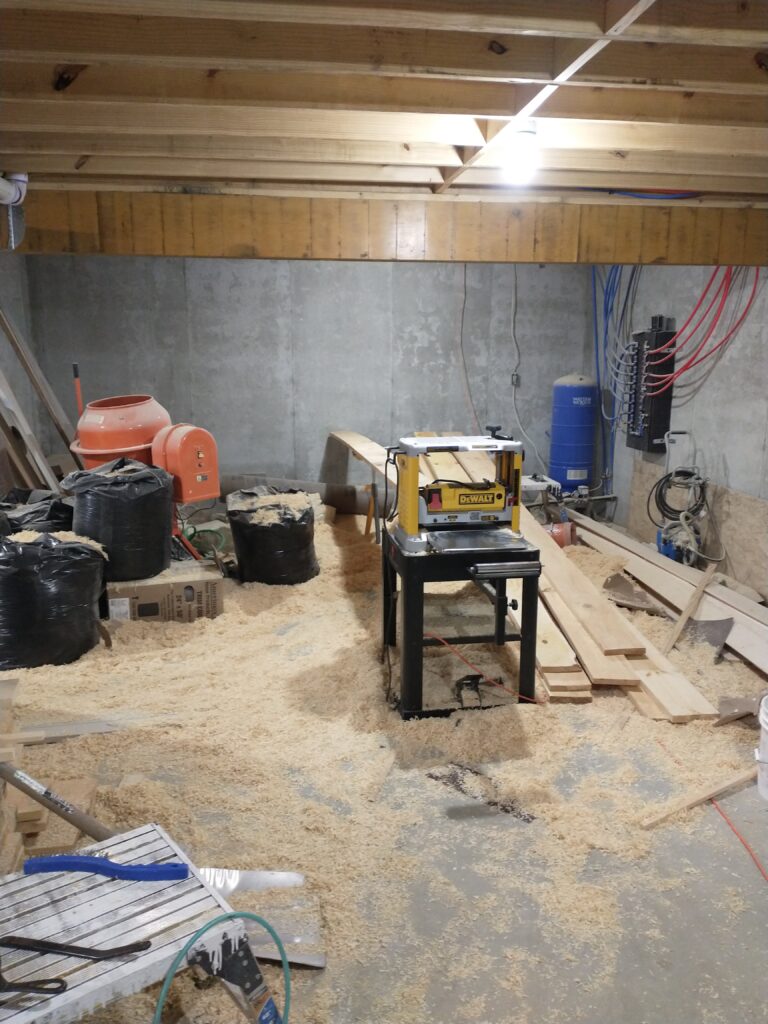
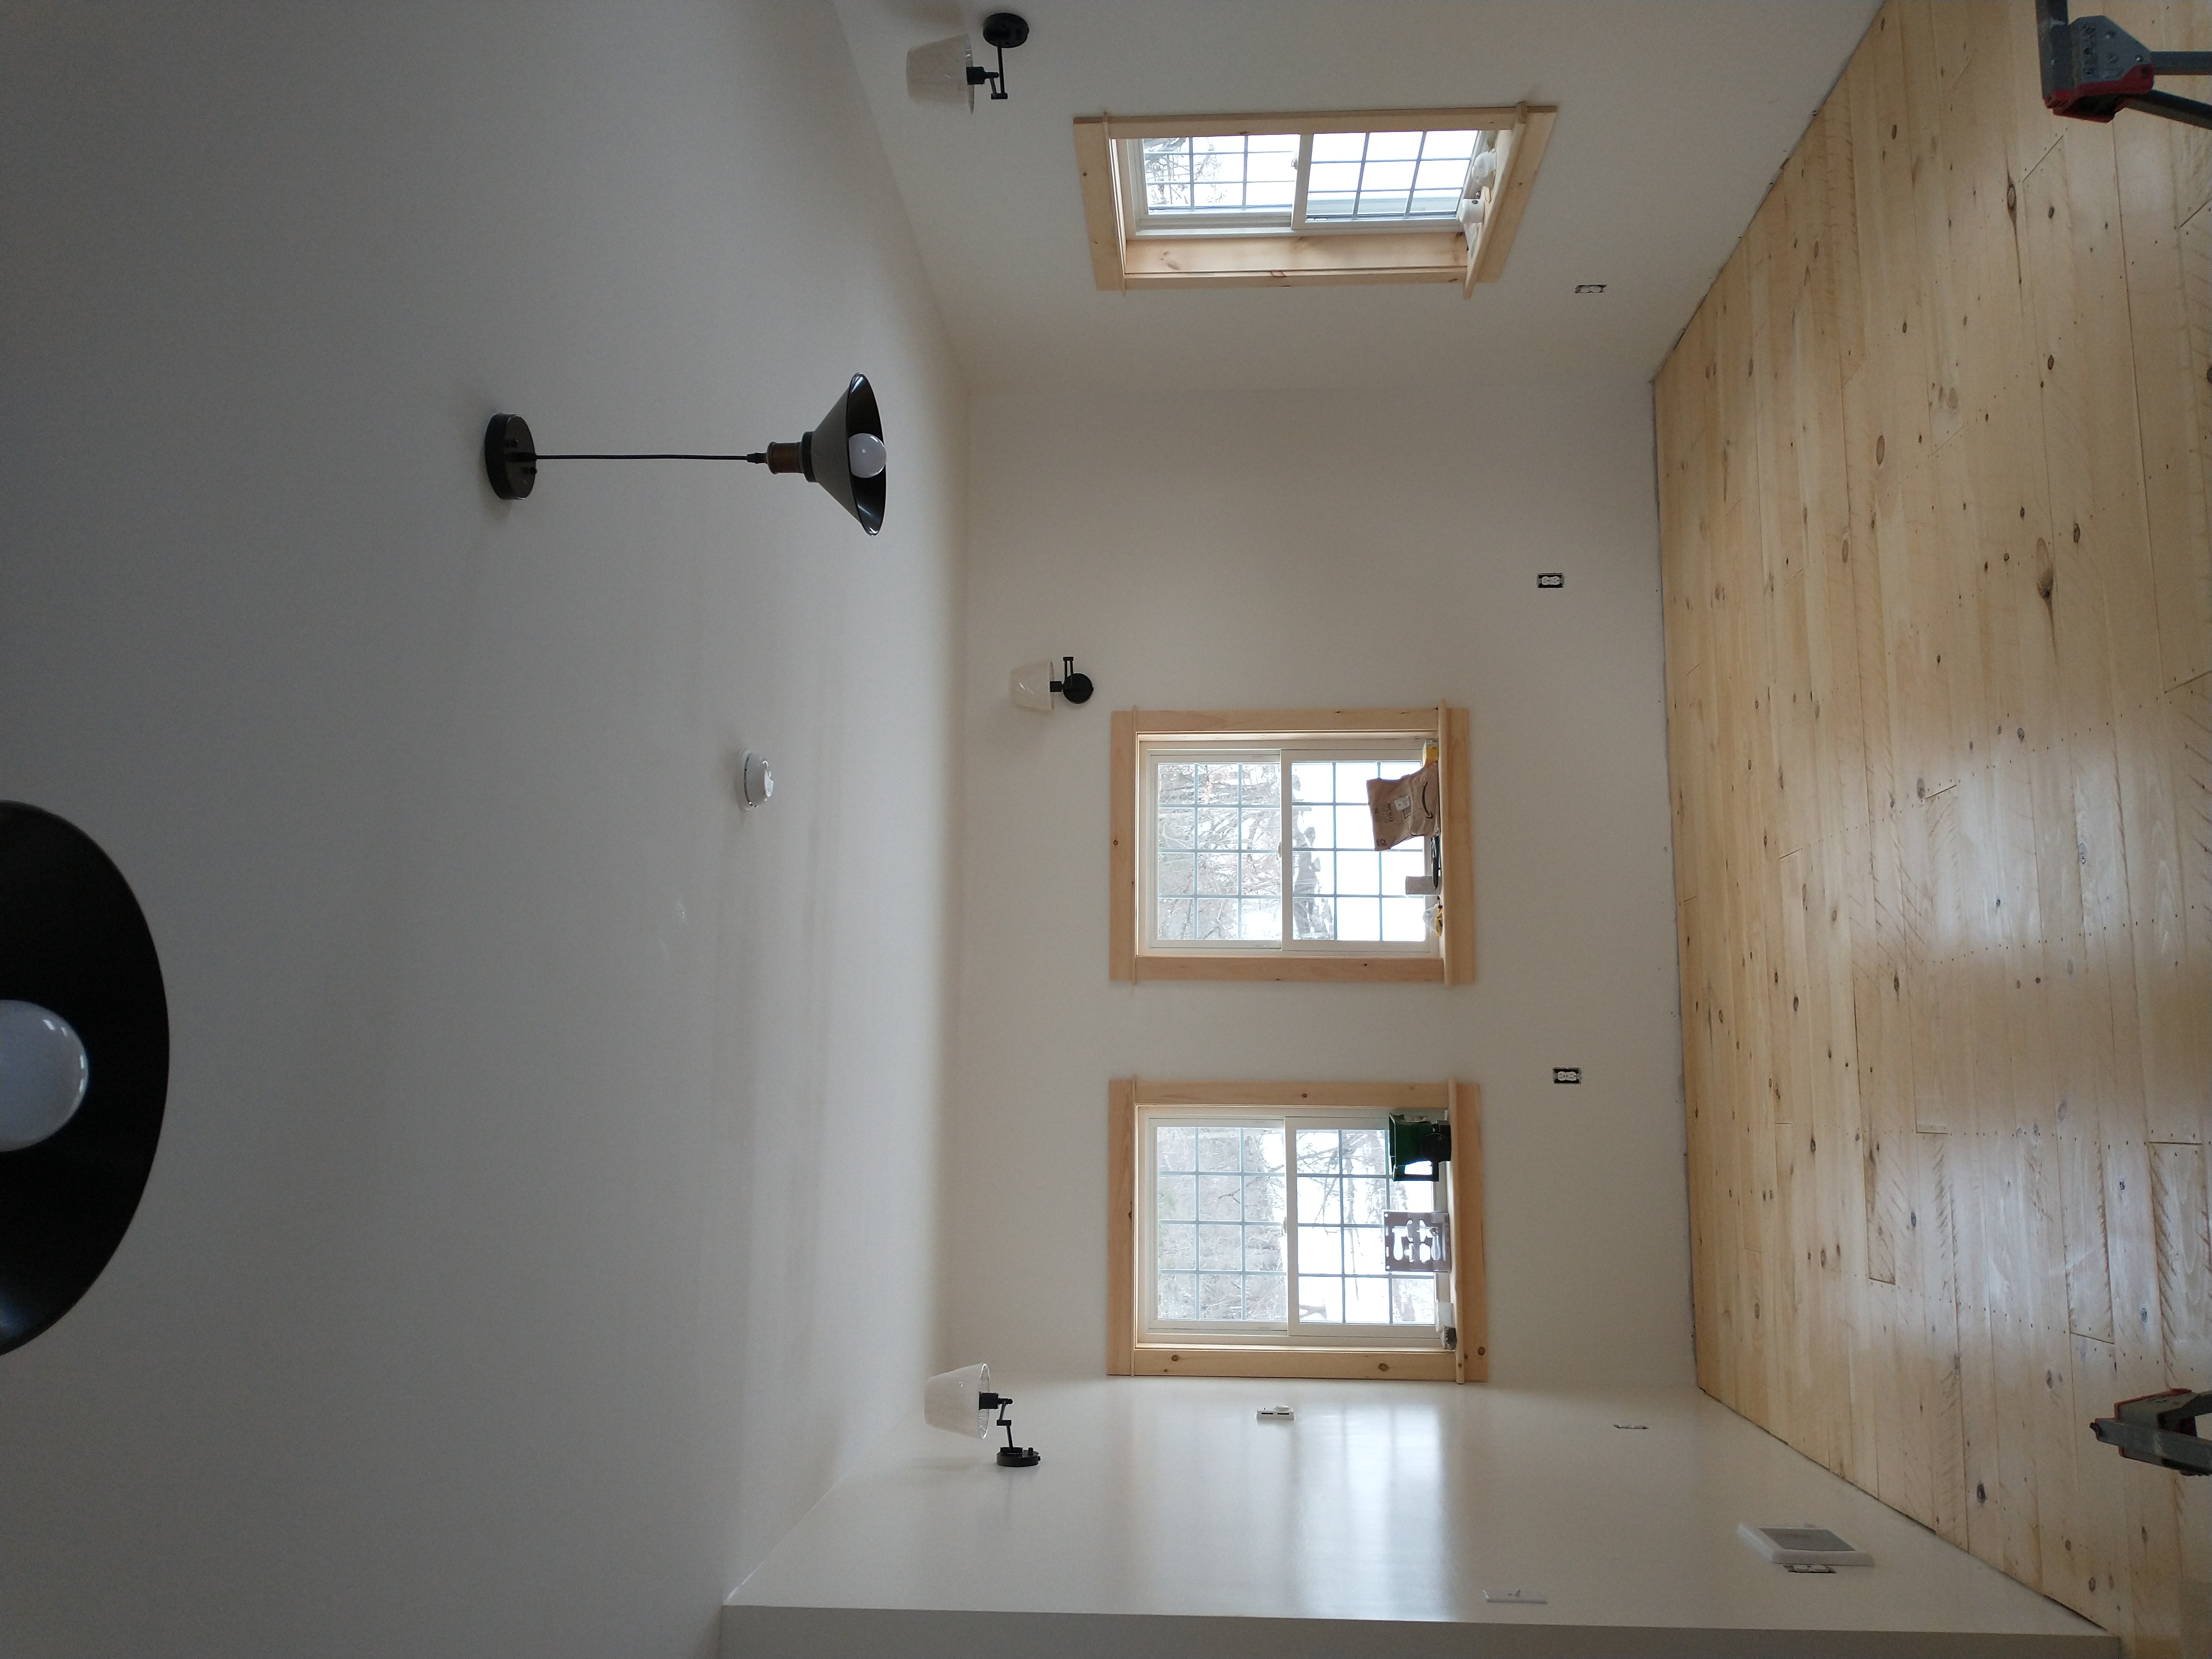
For flooring, we bought rough-sawn, kiln dried pine lumber from a local mill and planed it just down to the saw kerf so it is visible on most boards. It was then flipped and planed to thickness. We had ordered 5/4 rough sawn, then assumed planing 1/4″ off of 1,000 sq. ft. of flooring would be easy peasy… My, how ignorant we were. Chris was planing floorboards in the basement for weeks and the pine shavings just covered the entire basement floor- it was a hamster’s dream in there. There is still a foot high pile of decomposing shavings in our hedgerow from this project. It was then face-nailed, giving the floor a simple, rustic, barn-wood floor appearance .
An unconventional kitchen
We had decided early on to do an “unfitted kitchen,” with furniture pieces we could move around rather than built-in cabinetry. Chris designed a mortise-and-tenon dairy table based on a historic piece we saw while touring a local, colonial, historic home on a field trip for our daughter, and then he designed a custom sink station to hold a farmhouse sink and a dishwasher. The DIY projects were really stacking up and the time to do them was fleeting. His father graciously built both of them for us in his workshop. They are made from Home Depot whitewood stud lumber (2x4s & 2x6s), planed and trimmed and have maple butcher block for the tops. The sink was installed a day or two before we moved in.
We got two basic upper cabinets from Facebook marketplace and later on we bought a hutch from marketplace to store kitchen necessities and food items. We needed a drawer unit for a long time and I finally found a free filing cabinet that I painted and ordered legs and brass handles for. We put the chunk of butcher block that we had cut out for the sink on that filing cabinet to make it look cohesive. I found a plate rack at an antique shop that we mounted underneath one of our upper cabinets. We put up a hanging rack for our pans. Later on, my husband built our long kitchen table from more leftover building lumber and pine floorboards in a rustic, French-provincial farmhouse style.
/