One material, endless possibilities
From the beginning, the dream was to make our kitchen tiles by pulling dirt from the ground, filtering it down to the highest clay percentage we could (using a bucket, water and muscle) and pounding it into molds… Over and over and over and over again. During the process of making the tiles for the floor, one of the steps is to whip the clay into a thick slip. It wasn’t so much of a stretch for us to locate a slip mold, and start making mugs using the slip we already made. The slip that came out of the buckets was fine for making drying on a plaster batte and making tiles, but it was going to take some filtering to make it suitable for slipcasting.
Hands introduction to slip casting
I took a few ceramic classes in high school and, somehow, ignorantly, I thought that was the end of it. Years later, I saw a showing of the Hands video series (available here if you’re interested). One of the videos in the series follows the ceramicists at Beleek Pottery, a handmade slipcasting studio in Ireland. I walked out of that showing, thought to myself “Ah, life in a simpler time sure was grand!”, thought briefly about my time in ceramics class in high school, and moved on.
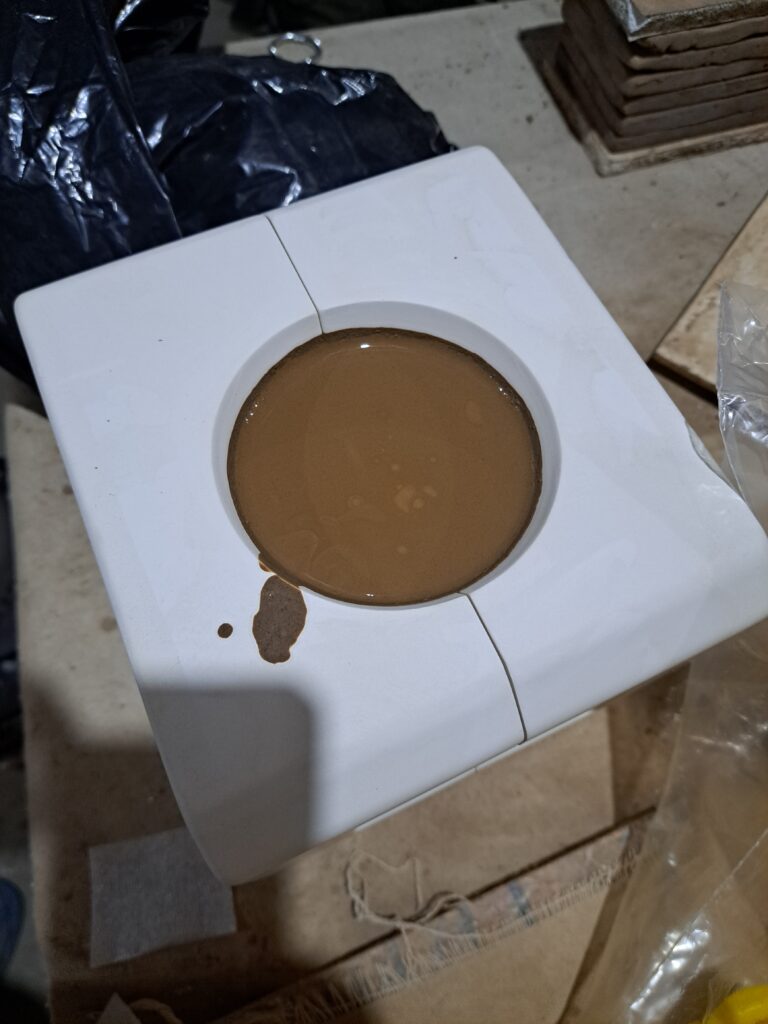
As I stood over a bucket clay, fresh from the ground one day, ready with my drill to pulverize it into the consistency of a chocolate shake (seriously, it is almost indistinguishable from a chocolate shake if is has been whipped really smooth), an image flashed through my mind of the slipcasting at Beleek. Given that Beleek was using a pure porcelain clay, which like mine, has a very low plasticity, I thought “Hmm, this could just work!”.
What is slip casting?
Slip casting is a widely used method to produce a wide array of ceramic products, from piggy banks, mugs, Christmas decorations and much more. A plaster mold is used because plaster is incredibly porous at a microscopic level, much like silica gel. As such it will soak up any water that comes in contact with it when the plaster is dry and before it has reached its capacity. Slip is just fine clay particles suspended in water to form a milkshake thick solution that can be poured. The process is pretty simple. The mold is a negative of what you are trying to produce, slightly larger than the finished object to account for shrinkage of the clay when drying. When slip is introduced into the mold, the plaster immediately begins to absorb the water out of it and the clay particles stick to the walls of the mold since they cannot be absorbed into the plaster. The longer it sits, the more water is absorbed, and the thicker the clay builds up on the surface. When the desired thickness is reached, the remainder of the slip is poured out of the mold and the mold is set to dry. As the plaster absorbs more of the water from the remaining clay attached to the walls, the clay dries and begins to shrink, in so doing, it pulls free of the walls of the mold (And bottom if it is a 3 part mold) and facilitates the removal of the object. Once to object is removed, any remaining flashing (from the seams in the mold) is removed and the slip cast is left to dry. Usually this can be done several times before the mold is wet enough that letting the slip cast dry takes all day. At that point, the mold must be set aside for at least a week to dry unless you place it in the sun on a nice summers day for a few days in a row. So, for those of you wondering what I am talking about, that is a brief synopsis of slip casting. If you really want to dive in, there are many authorities more skilled and knowledgeable than me and they share their information freely online.
Fail your way to a win
Like every other endeavor I have tried, for which there is no direct instruction manual, I dove right in. I had contemplated making a plaster mold from a mug that I had, but, given that clay shrinks as it dries and not wanting to make a master copy myself, I stuck to a pre made mold. I purchased a slip casting mold off of Etsy, which was made in the Czech Republic. While I was waiting the two weeks for that to arrive, I began to experiment making slips and filtering them. Despite the fact that the Instagram reel about making tiles from this clay garnered a lot of “This is clay! not dirt!” comments, making slip from it shows just how much dirt there is in the clay we use to make tiles. It took a good mesh strainer to get most of the clumps, roots and dirt out of the clay so it could be formed into a decent slip.
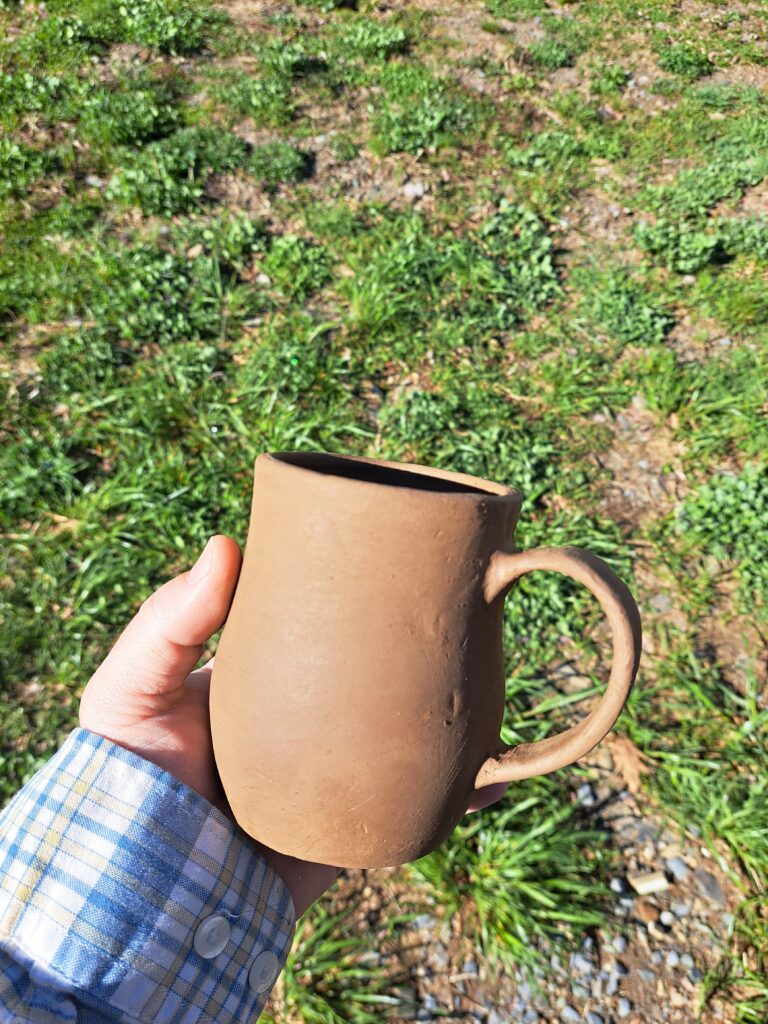
When the slip mold arrived, I was very excited to give it a try. I didn’t bother reading anything about the process and dove right in… and ruined my first mug. If you have ever tried slip casting, you know that there are a limited number of slip casts one can do before the mold becomes saturated and you have to let it dry for a long time to dry out enough to work. So now I am researching (something I should have done in the first place). I tried another one, but didn’t let it the slip sit in the mold long enough and when I tried to remove it, the soft clay mug tore and was not recoverable. Another failure followed from a lack of patience on my part again. Then, I could quote The swamp castle skit from Monty Python and the Holy Grail… “But the fourth one stayed up!”. I had a mug that came out of the mold in one beautiful, refined illustrious (little dramatic?) piece. I had my first mug!